Easy Mini Tuna Melts: Perfectly Crispy & Cheesy
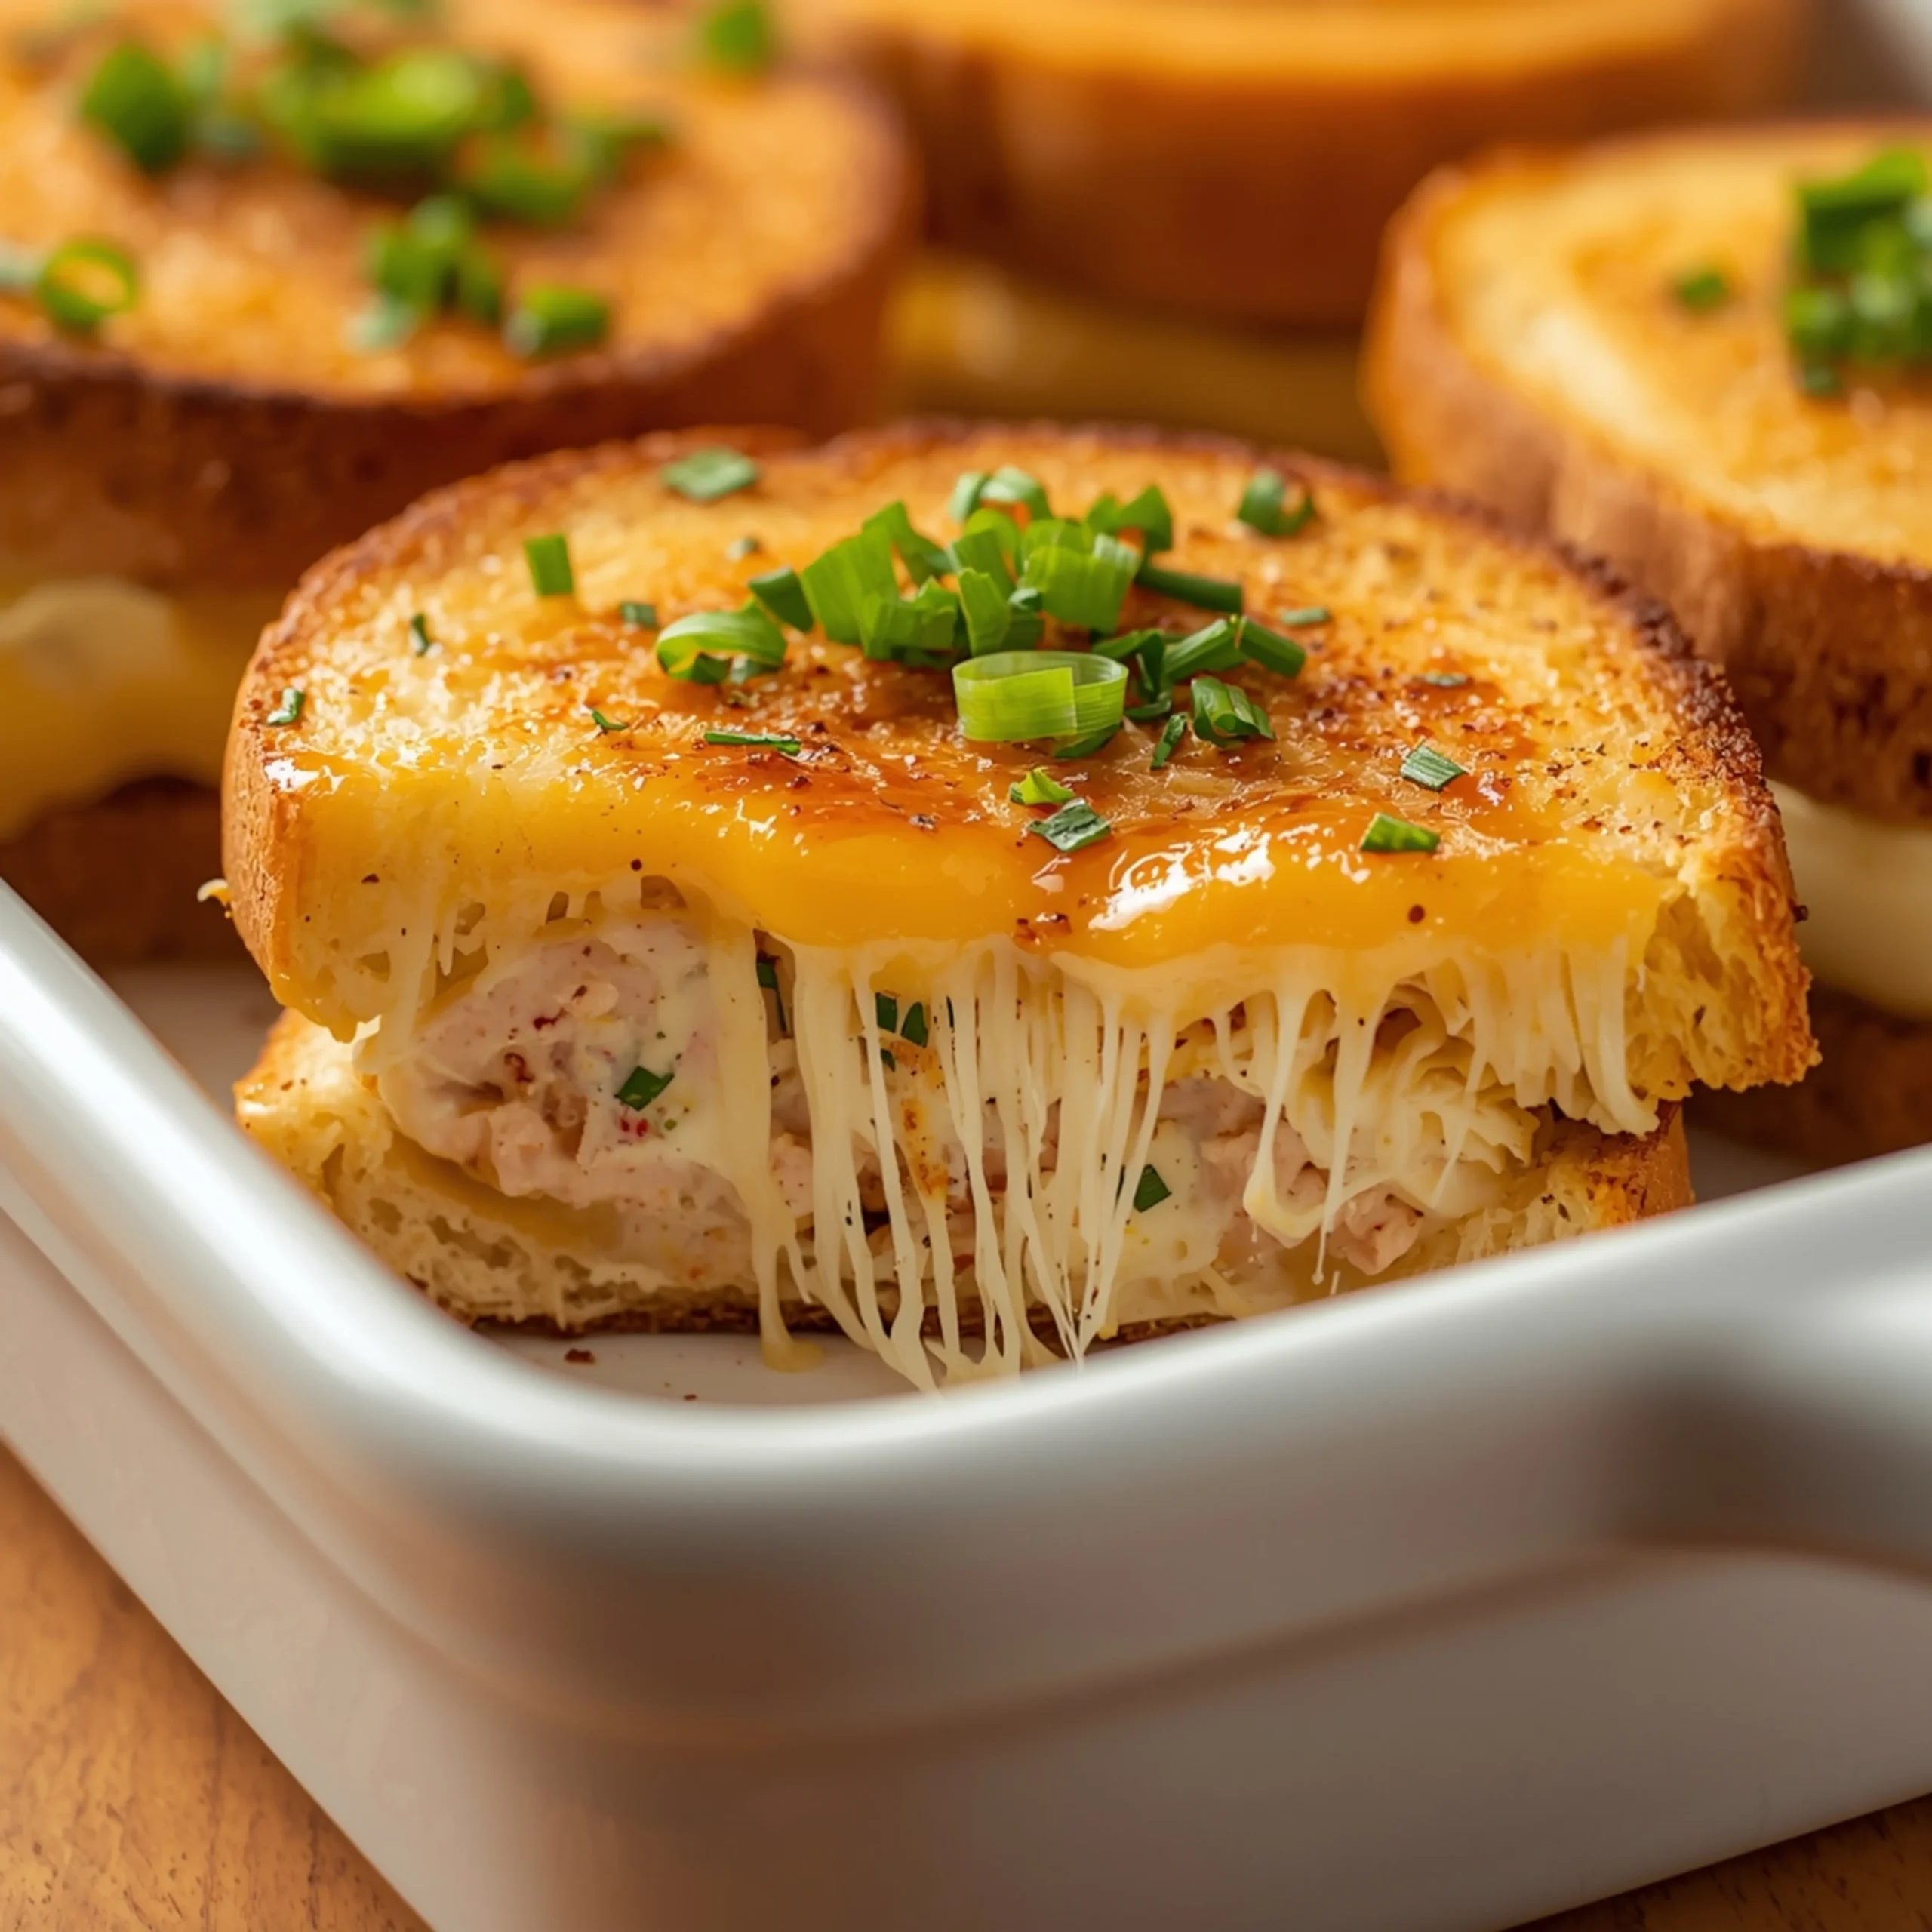
These mini tuna melts deliver the perfect ratio of golden-crisp bread, savory tuna salad, and gooey, melted cheese in every bite. They are a fast, satisfying lunch or appetizer, ideal for days when you don’t have one of our comforting slow cooker sandwiches ready to go. This recipe is engineered for maximum flavor and zero sogginess.
Why This Recipe Works
This isn’t just a smaller version of a classic; it’s an upgrade. The smaller format creates a superior texture and flavor experience.
- Optimal Crunch-to-Filling Ratio: The smaller surface area ensures each bite has the perfect balance of buttery, toasted bread and creamy tuna filling.
- Faster, More Even Cooking: Mini melts heat through quickly, melting the cheese perfectly without any risk of burning the bread.
- Versatility: They are perfect as a quick lunch, a party appetizer, or a kid-friendly snack. The size makes them easy to handle and serve.
- Flavor Engineering: The combination of sharp Dijon, briny capers, and fresh lemon juice cuts through the richness of the mayo and cheese for a balanced, addictive flavor.
Step-by-Step Instructions
Prep Time: 10 minutes
Cook Time: 5-7 minutes
Yields: 12-14 mini melts
- Prepare the Tuna Salad:
- In a medium bowl, thoroughly drain two cans of tuna. Use a fork to flake it apart until no large clumps remain.
- Add the mayonnaise, finely chopped celery, minced red onion, Dijon mustard, capers, and fresh lemon juice.
- Mix with the fork until everything is evenly combined. Season with salt and black pepper to taste. Do not overmix.
- Prepare the Bread:
- Lay out your baguette slices or bread rounds on a clean work surface.
- Spread a thin, even layer of softened butter on one side of each slice of bread. This is the side that will make contact with the skillet.
- Assemble the Mini Melts:
- Flip the bread slices over to the unbuttered side.
- Place a slice of cheese (or half a slice, if large) onto half of the bread slices.
- Spoon a modest amount of the tuna salad onto the cheese. Do not overfill, as this will cause the filling to spill out during cooking.
- Top with the remaining bread slices, butter-side-up.
- Cook the Melts:
- Heat a large non-stick skillet or griddle over medium-low heat. Do not use high heat, as the bread will burn before the cheese melts.
- Carefully place the assembled mini melts into the hot skillet. You may need to do this in batches.
- Cook for 3-4 minutes per side, until the bread is a deep golden brown and the cheese is fully melted and gooey. Press down gently with a spatula halfway through cooking on each side to help the melt cohere.
- Serve Immediately:
- Remove the melts from the skillet and serve immediately while hot and crispy.
The Anatomy of a Perfect Tuna Salad
The core of any great melt is the salad. Each component serves a critical purpose.
- The Tuna:
- Best Choice: Solid white albacore tuna packed in olive oil. The oil imparts a richer flavor and a more tender texture. Drain it well to prevent a greasy result.
- Good Alternative: Tuna packed in water. It’s lighter, but you may need to add a touch more mayonnaise or a drizzle of olive oil to compensate for the lack of fat.
- The Binder:
- Mayonnaise: Use a high-quality, full-fat mayonnaise (like Duke’s or Kewpie) for the best creamy texture and flavor.
- Lighter Option: Substitute half or all of the mayo with full-fat Greek yogurt for a tangy, higher-protein alternative.
- The Crunch Factor:
- Celery & Red Onion: These are non-negotiable for texture. Finely dice them so you get a bit of crunch in every bite without overwhelming the salad.
- The Acid & Brine:
- Dijon Mustard: Adds a sharp, tangy kick that cuts through the richness.
- Lemon Juice: Freshly squeezed is best. It brightens the entire mixture.
- Capers or Relish: Capers provide a salty, briny pop. If you prefer a classic sweet-and-sour note, sweet pickle relish is a great substitute.
Best Bread & Cheese Pairings
The right foundation and cheesy topping can elevate your melt from good to great.
- Bread Options:
- Baguette: Sliced into ½-inch rounds, it creates a perfectly crisp, cracker-like base.
- Sourdough: Its tangy flavor profile is a fantastic complement to the rich tuna salad. Use a cookie cutter to create small rounds.
- Rye or Pumpernickel: Offers a classic, hearty deli flavor that pairs beautifully with Swiss cheese.
- Brioche Slider Buns: For a softer, richer, and slightly sweet version.
- Cheese Selection:
- Sharp Cheddar: The classic choice. Its sharp flavor stands up to the tuna.
- Provolone: A superior melting cheese that provides that satisfying, stringy “cheese pull.”
- Swiss or Gruyère: Adds a nutty, complex flavor that feels more sophisticated.
- American Cheese: Unbeatable for its creamy, smooth meltability.
Serving & Pairing Suggestions
While fantastic on their own, these mini melts are even better when paired with the right sides. For an easy weeknight meal, nothing beats the classic soup-and-sandwich combo. A creamy tomato soup is a timeless choice, but for something with more depth, try pairing them with a hearty Tuscan soup.
For a heartier comfort food meal on a day you have more time, a slow-cooked classic like a rich and tender French Onion Pot Roast is always a showstopper.
- With Soup: Tomato bisque, potato leek, or a simple vegetable soup.
- With a Salad: A simple green salad with a sharp vinaigrette to cut the richness.
- As an Appetizer: Serve on a platter with pickles, olives, and potato chips.
COMMON MISTAKES TO AVOID
- Mistake: Soggy, greasy bread.
- Fix: Ensure your tuna is extremely well-drained. Press it with a fork against the side of the can to expel all excess liquid. Also, use just enough butter to coat the bread—don’t saturate it.
- Mistake: The filling spills out everywhere.
- Fix: Do not overfill the melts. A thin, even layer of tuna salad is all you need. Pressing down gently with a spatula during cooking also helps seal the edges.
- Mistake: The bread burns before the cheese melts.
- Fix: Use medium-low heat. This is crucial. It gives the heat time to penetrate to the center and melt the cheese completely while the bread becomes perfectly golden-brown, not burnt.
FAQ
Q: Can I make the tuna salad ahead of time?
A: Absolutely. The tuna salad can be made up to 3 days in advance and stored in an airtight container in the refrigerator. The flavors will meld and be even better.
Q: How do I store and reheat leftover mini tuna melts?
A: Store leftovers in an airtight container in the refrigerator for up to 2 days. For best results, reheat in a dry, non-stick skillet over low heat, or in an air fryer at 350°F (175°C) for 3-4 minutes until crispy. Avoid the microwave, as it will make the bread soft and chewy.
Q: What are some other fun mix-ins for the tuna salad?
A: Get creative! Try adding chopped dill pickles, fresh herbs like dill or parsley, a dash of hot sauce for heat, or even chopped hard-boiled egg for extra protein.
NUTRITIONAL SNAPSHOT
(Estimates are per mini melt and will vary based on bread, cheese, and mayo used.)
| Nutrient | Amount per Serving |
|---|---|
| Calories | 155 |
| Protein | 8g |
| Fat | 9g |
| Net Carbs | 10g |
| Fiber | 1g |
| Sugar | 1g |
More Quick Meal Ideas
While these mini melts are perfect for a fast lunch, planning for other meals is key. For an easy weeknight breakfast-for-dinner, try these fluffy pumpkin spice pancakes. For a more impressive weekend dinner, a garlic butter beef tenderloin is surprisingly straightforward.
Easy Mini Tuna Melts: Perfectly Crispy & Cheesy
These mini tuna melts deliver the perfect ratio of golden-crisp bread, savory tuna salad, and gooey, melted cheese in every bite. They are a fast, satisfying lunch or appetizer, ideal for days when you don't have one of our comforting slow cooker sandwiches ready to go. This recipe is engineered for maximum flavor and zero sogginess.
Ingredients
- 2 (5-ounce) cans solid white tuna in oil, drained well
- 1/3 cup high-quality mayonnaise
- 1 celery stalk, finely chopped
- 2 tablespoons red onion, finely minced
- 1 teaspoon Dijon mustard
- 1 teaspoon capers, drained
- 1 teaspoon fresh lemon juice
- Salt and freshly ground black pepper to taste
- 24 slices of a thin baguette or 12 small slices of sourdough/rye
- 3 tablespoons softened butter
- 6 slices of sharp cheddar, provolone, or Swiss cheese, halved
Instructions
- Prepare the Tuna Salad: In a medium bowl, thoroughly drain two cans of tuna. Use a fork to flake it apart until no large clumps remain. Add the mayonnaise, finely chopped celery, minced red onion, Dijon mustard, capers, and fresh lemon juice. Mix with the fork until everything is evenly combined. Season with salt and black pepper to taste. Do not overmix.
- Prepare the Bread: Lay out your baguette slices or bread rounds on a clean work surface. Spread a thin, even layer of softened butter on one side of each slice of bread. This is the side that will make contact with the skillet.
- Assemble the Mini Melts: Flip the bread slices over to the unbuttered side. Place a slice of cheese (or half a slice, if large) onto half of the bread slices. Spoon a modest amount of the tuna salad onto the cheese. Do not overfill, as this will cause the filling to spill out during cooking. Top with the remaining bread slices, butter-side-up.
- Cook the Melts: Heat a large non-stick skillet or griddle over medium-low heat. Do not use high heat, as the bread will burn before the cheese melts. Carefully place the assembled mini melts into the hot skillet. You may need to do this in batches. Cook for 3-4 minutes per side, until the bread is a deep golden brown and the cheese is fully melted and gooey. Press down gently with a spatula halfway through cooking on each side to help the melt cohere.
- Serve Immediately: Remove the melts from the skillet and serve immediately while hot and crispy.