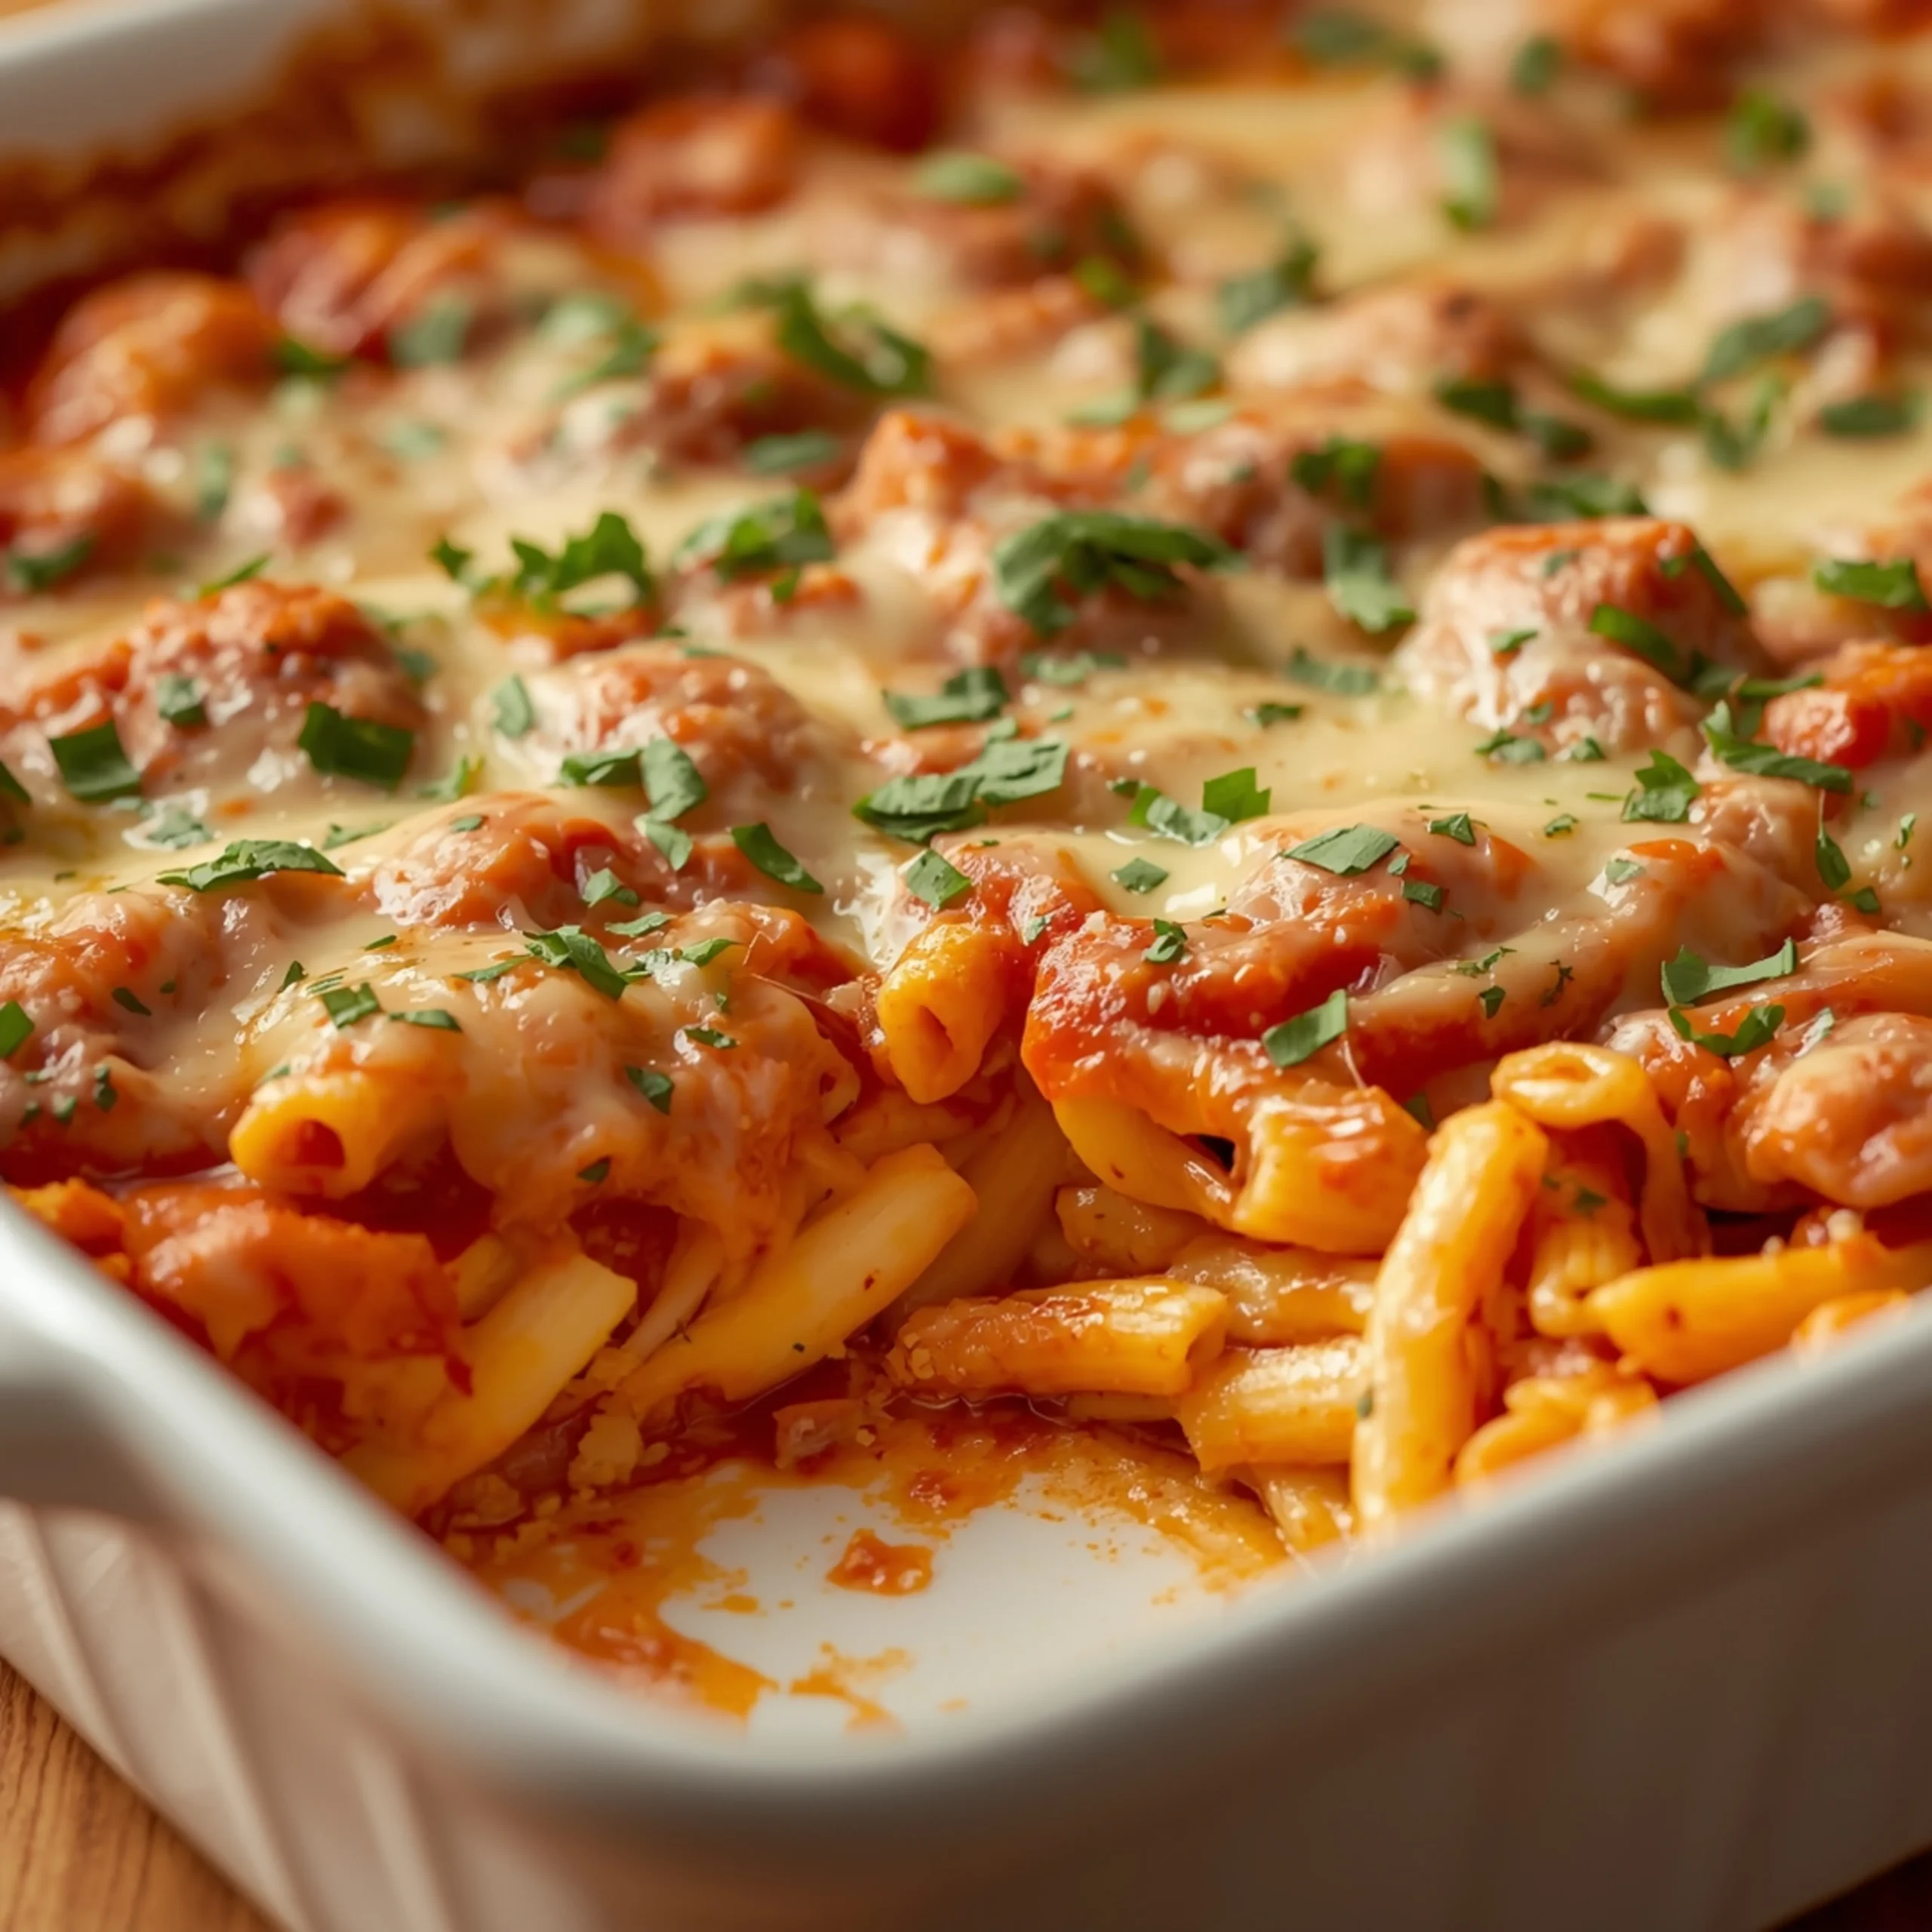
Rich & Creamy Baked Ziti with Hidden Ricotta
This is comfort food engineered for maximum flavor. Forget dry, gritty ricotta—this recipe uses a hidden layer technique to create a rich, creamy core inside a perfectly baked pasta casserole with bubbling, savory meat sauce and a golden cheese crust.
While I adore a hands-off slow cooker meal like my Hearty Slow Cooker Lentil and Root Vegetable Soup, some nights call for the oven-baked perfection of a classic pasta dish. This is that dish, streamlined for a foolproof result.
Step-by-Step Instructions
- Prep Oven & Pan: Preheat your oven to 375°F (190°C). Lightly grease a 9×13 inch baking dish.
- Cook Pasta: Bring a large pot of salted water to a boil. Add 1 lb of ziti and cook for 2 minutes less than the package directions for al dente. The pasta will finish cooking in the oven. Drain and set aside.
- Brown the Meat: In a large skillet or Dutch oven over medium-high heat, cook the ground beef and Italian sausage, breaking it up with a spoon. Cook until no pink remains, about 5-7 minutes. Drain off excess fat.
- Build the Sauce: Add the diced onion to the skillet and cook until softened, about 3-4 minutes. Add the minced garlic and cook for another minute until fragrant. Stir in the crushed tomatoes, tomato paste, Italian seasoning, salt, pepper, and sugar.
- Simmer: Bring the sauce to a simmer, then reduce heat to low. Let it gently bubble for at least 10 minutes to allow the flavors to meld.
- Mix Ricotta Filling: In a medium bowl, combine the ricotta cheese, ½ cup of Parmesan, the beaten egg, and fresh parsley. Mix until smooth. Season with a pinch of salt and pepper.
- Assemble – Layer 1 (Base): Spread about 1 cup of the meat sauce on the bottom of your prepared baking dish. Top with half of the cooked ziti.
- Assemble – Layer 2 (The Hidden Ricotta): Dollop the ricotta mixture evenly over the first layer of pasta. Gently spread it into a mostly even layer.
- Assemble – Layer 3 (Finish): Top the ricotta with the remaining ziti. Pour the rest of the meat sauce over the pasta, ensuring it’s fully covered.
- Cheese Topping: Sprinkle the shredded mozzarella and the remaining ¼ cup of Parmesan cheese evenly over the top.
- Bake: Cover the dish with foil (tent it slightly so it doesn’t touch the cheese) and bake for 20 minutes. Remove the foil and bake for another 15-20 minutes, or until the cheese is melted, bubbly, and starting to brown on top.
- Rest: Let the baked ziti rest for 10-15 minutes before cutting and serving. This is crucial for letting the layers set.
Why the “Hidden” Ricotta Method Works
The classic ziti mistake is mixing ricotta directly with the pasta. This often results in a dry, grainy texture. By creating a distinct, hidden layer, we engineer a better result.
- Moisture Lock: The ricotta layer is insulated between pasta and sauce, preventing it from drying out in the oven’s direct heat.
- Creamy Core: The egg acts as a binder, creating a stable, luscious, almost lasagna-like layer that holds its shape.
- Distinct Flavors: Each bite delivers a perfect combination: savory sauce, tender pasta, and a rich, creamy pocket of cheese.
The Anatomy of a Perfect Meat Sauce
A great baked ziti starts with a robust sauce. Don’t rush this step.
- Use a Meat Blend: Combining ground beef (for richness) and Italian sausage (for spice and flavor) creates a sauce with more complexity. A good quality hot or sweet Italian sausage, like the kind I use in my Crockpot Sausage and Peppers, is ideal.
- Sauté Aromatics Separately: Cook the onion first to soften it, then add the garlic for the last minute. Adding garlic too early can cause it to burn and become bitter.
- A Touch of Sugar: Just a teaspoon of sugar balances the acidity of the tomatoes. It doesn’t make the sauce sweet; it makes it taste more rounded and robust.
- Simmer, Don’t Boil: A gentle simmer allows the sauce to thicken slightly and deepens the flavor. For a completely different take on a simmered sausage dish, some recipes like these delicious beer-braised sausages with peppers use other liquids to build a unique flavor base.
Make-Ahead & Freezing Instructions
This dish is perfect for meal prep. Assemble now, bake later.
- To Refrigerate (1-2 Days): Assemble the entire ziti in the baking dish but do not bake it. Cover tightly with plastic wrap or foil and refrigerate. When ready to bake, remove from the fridge 30 minutes prior. You may need to add 10-15 minutes to the covered baking time.
- To Freeze (Up to 3 Months): Assemble in a freezer-safe dish (aluminum pans are great for this). Wrap tightly with a layer of plastic wrap, then a layer of foil. To bake, thaw overnight in the refrigerator, then bake as directed.
COMMON MISTAKES TO AVOID
- Mistake: Overcooking the pasta.
Fix: Boil the ziti for 2-3 minutes less than the package instructs. It will absorb liquid from the sauce and finish cooking to a perfect al dente texture in the oven. - Mistake: A watery, bland final dish.
Fix: Let your meat sauce simmer for at least 10-15 minutes. This reduces excess water and concentrates the flavors, preventing a soupy casserole. - Mistake: Skipping the egg in the ricotta.
Fix: The egg is a crucial binder. It gives the ricotta layer a creamy, stable structure. Without it, the cheese can become grainy and weep liquid.
FAQ
Q: Can I use a different type of pasta?
A: Absolutely. Rigatoni is a fantastic substitute with its large tubes and ridges. Penne also works well. The key is a sturdy, tube-shaped pasta that can hold the sauce.
Q: How can I make this vegetarian?
A: Omit the meat and create a robust vegetable sauce. Sauté finely chopped mushrooms, zucchini, and carrots with the onion. A can of brown or green lentils, added with the crushed tomatoes, also makes a hearty substitute.
Q: Why do I need to let it rest before serving?
A: Resting is essential. It allows the molten cheese and sauce to set slightly. Slicing into it immediately will cause the layers to collapse. A 10-15 minute rest guarantees clean, beautiful slices.
NUTRITIONAL SNAPSHOT
| Nutrient | Amount per Serving |
|---|---|
| Calories | 610 kcal |
| Protein | 34g |
| Fat | 28g |
| Net Carbs | 52g |
| Fiber | 5g |
| Sugar | 11g |
This classic dish is a guaranteed win for family dinners or potlucks. And for dessert, something simple to prepare like these Cherry Cheesecake Bars makes for a perfect, easy finish to a comforting meal. If you find yourself looking for a lighter option on a different night, a recipe like this Grilled Lemon Herb Chicken with Quinoa Salad can be a great alternative.