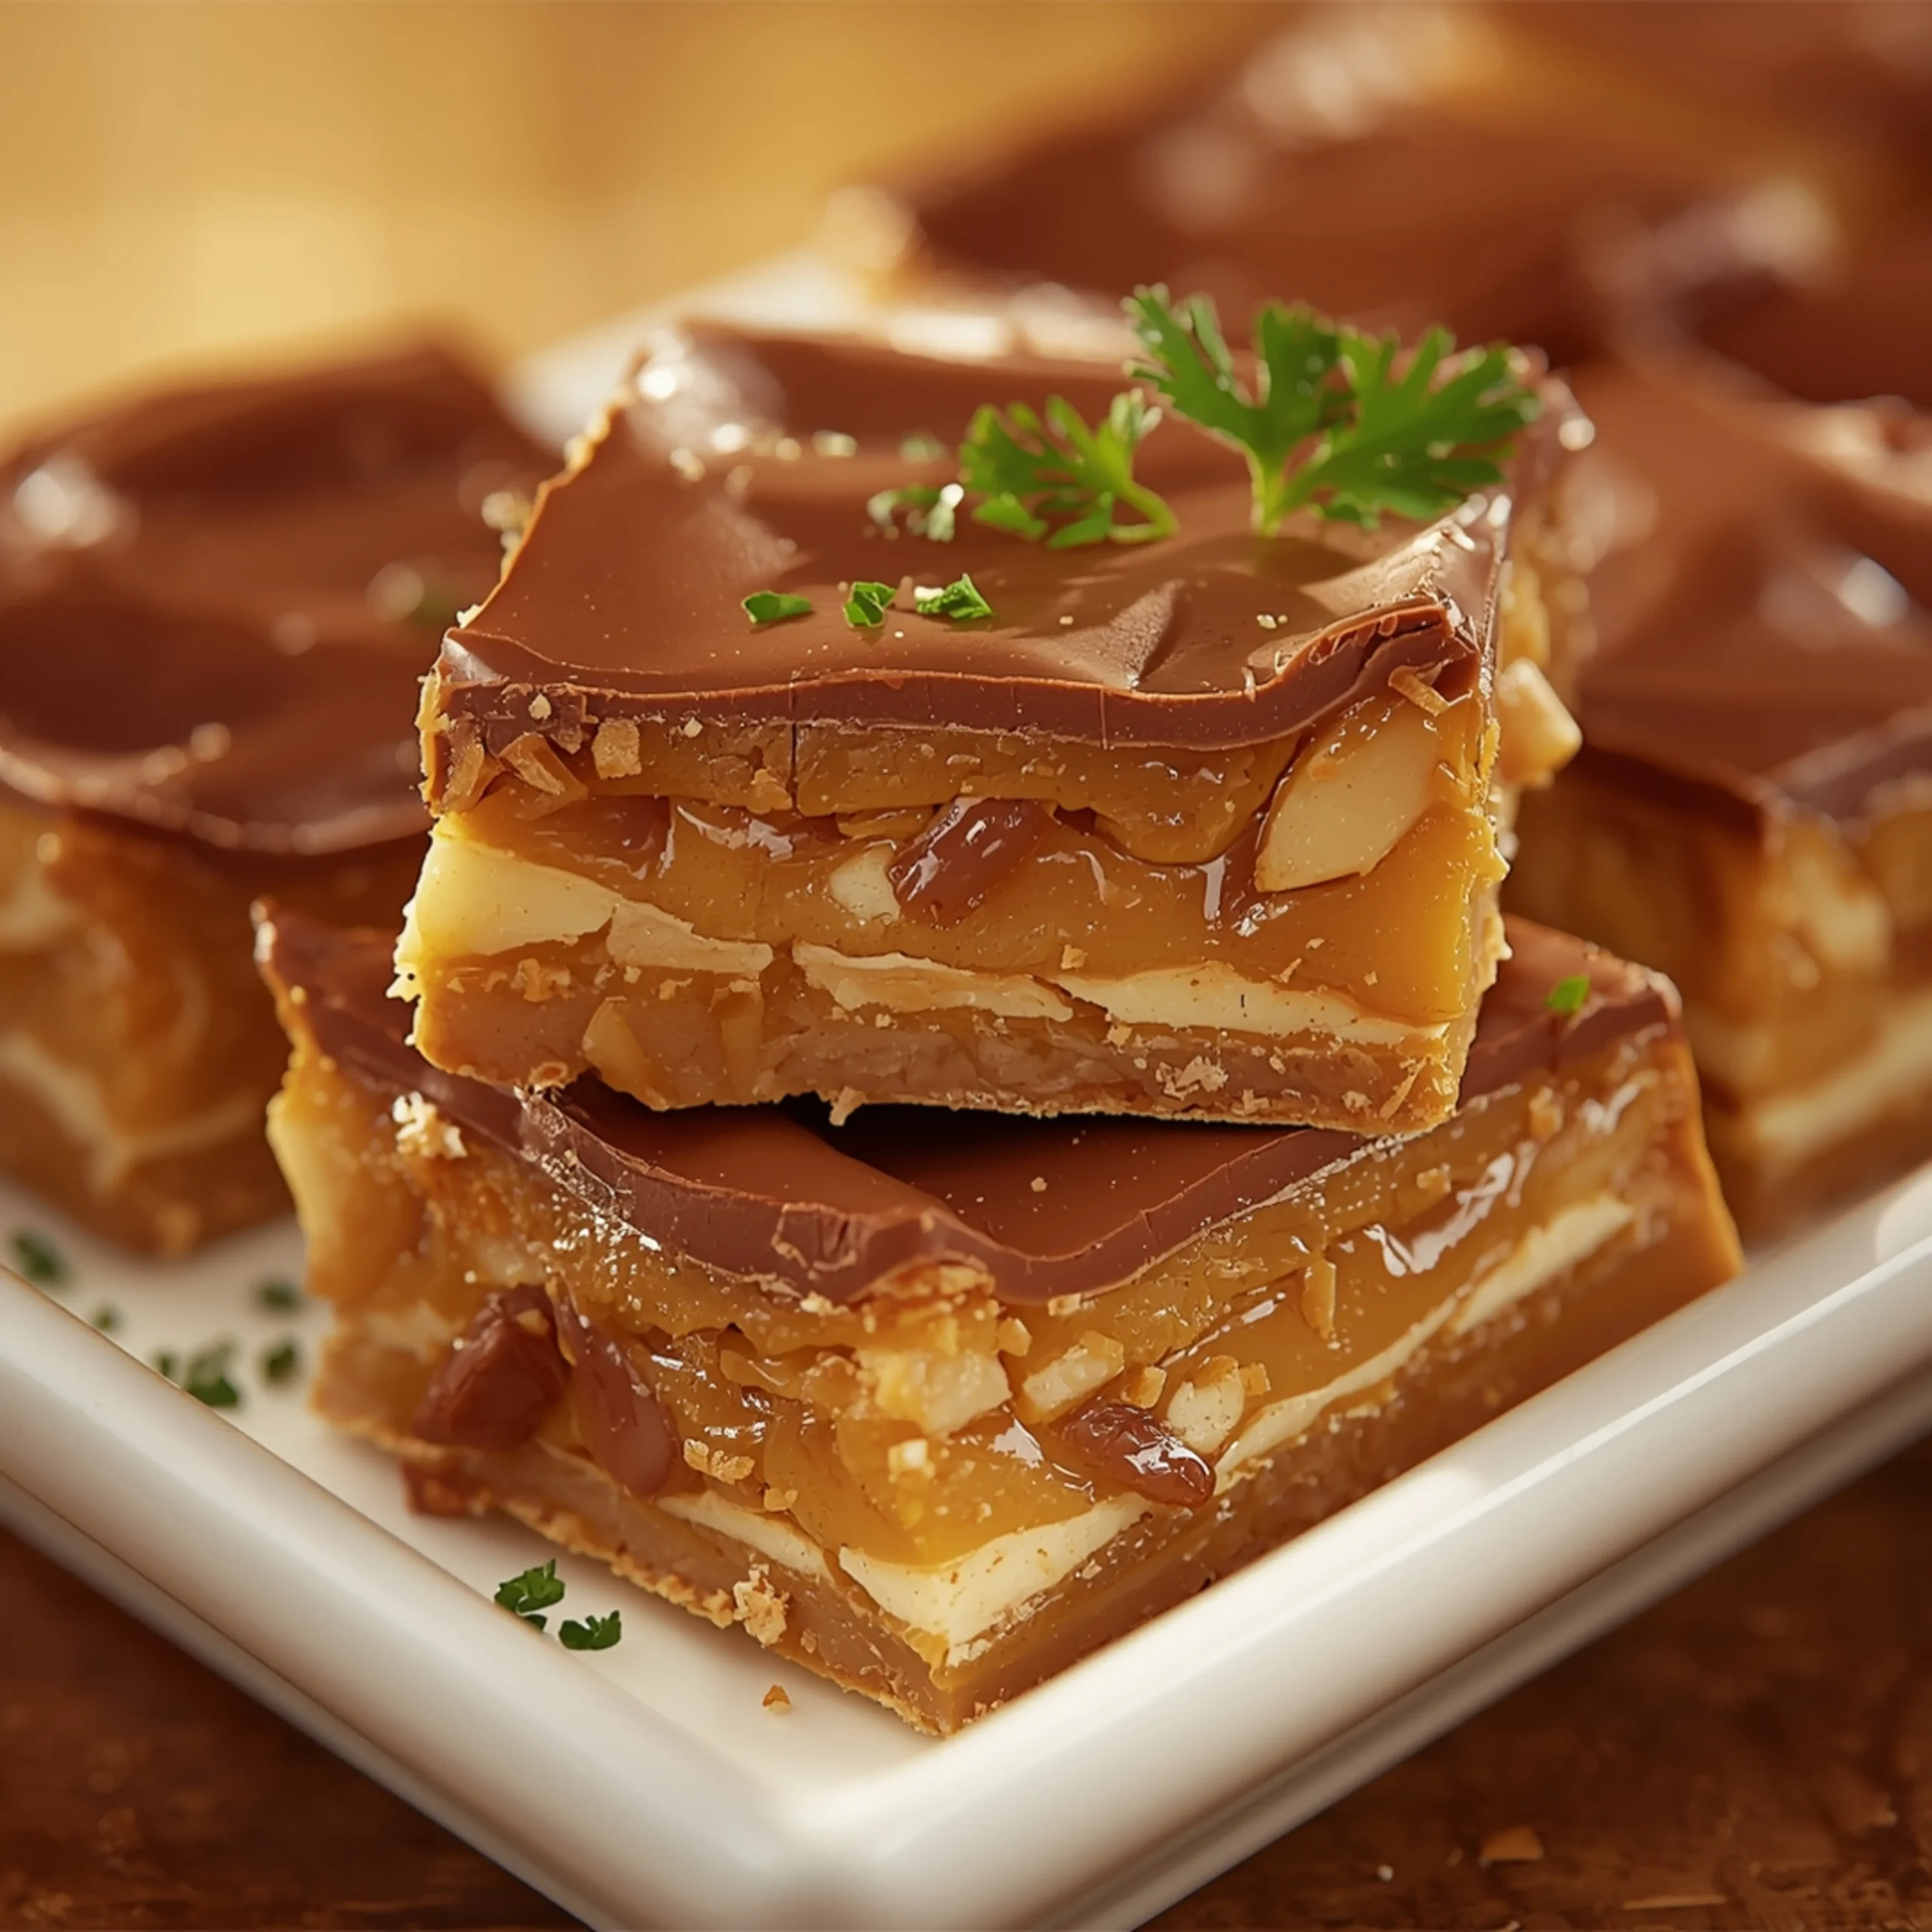
5-Ingredient Butterfinger Caramel Bars (Quick & No-Bake)
These Butterfinger Caramel Bars deliver maximum crunch, chew, and chocolatey bliss with minimal effort. This no-bake recipe layers a salty-sweet cracker crust, a rich caramel center, and a crunchy candy topping for a truly addictive treat. After a comforting meal like our tender Crockpot French Dip, you need a dessert that’s just as simple and satisfying.
The Anatomy of a Perfect Butterfinger Bar
These bars succeed by perfectly balancing texture and flavor in three distinct layers. Understanding the function of each layer is key to getting them right every time.
- The Crust: A base of crushed peanut butter sandwich crackers and melted butter. This layer provides a salty, savory foundation that cuts through the sweetness of the caramel and chocolate. The cracker crumbs offer a tender, slightly sandy texture that holds everything together.
- The Caramel Layer: Soft, chewy caramel squares are melted down with a splash of milk or cream. This creates a decadent, pliable layer that acts as the “glue” for the topping. The key is melting it gently to maintain a soft, chewy texture rather than a hard, brittle one.
- The Topping: A simple yet effective combination of melted chocolate chips and crushed Butterfinger candy bars. This layer provides the signature crunchy, peanut-buttery flavor and a classic chocolate finish.
Ingredient Deep Dive & Smart Swaps
While the 5-ingredient recipe is a classic, you have room to customize.
- Peanut Butter Crackers: Ritz-style peanut butter sandwich crackers are ideal. Their crispness and saltiness are perfect. In a pinch, any buttery cracker (like Ritz or Club) crushed with 1/4 cup of peanut butter can work.
- The Caramels: Kraft square caramels are the gold standard for their reliable melting and soft texture. Avoid hard caramel candies, as they won’t melt into the right consistency.
- Butterfingers: The star of the show! For variations, try substituting with:
- Heath Bars or Skor: For a toffee crunch.
- Reese’s Peanut Butter Cups: For a softer, peanut-forward flavor.
- Snickers: For a nougat and peanut twist.
- Chocolate Chips: Semi-sweet chocolate chips provide a nice balance. You can also use milk chocolate for a sweeter bar or dark chocolate for a more intense flavor. If you’re looking for other easy chocolate dessert ideas, these Chocolate Peppermint Bark Cups use a similar melting technique and are perfect for the holidays.
Step-by-Step Instructions
- Prep Your Pan: Line an 8×8 inch baking pan with parchment paper, leaving some overhang on the sides to act as “handles.” This is critical for easy removal later. Lightly grease the paper.
- Make the Crust: In a food processor, pulse the 20 peanut butter sandwich crackers until they form coarse crumbs. If you don’t have a food processor, place them in a zip-top bag and crush them with a rolling pin.
- Combine Crust Ingredients: In a medium bowl, mix the cracker crumbs with the 4 tablespoons of melted butter until fully combined. The mixture should resemble wet sand.
- Press the Crust: Firmly press the crumb mixture into the bottom of your prepared pan, creating an even layer. Use the bottom of a glass or measuring cup to pack it down tightly. Place the pan in the freezer to set for 10-15 minutes.
- Melt the Caramel: While the crust chills, unwrap the caramels. In a microwave-safe bowl or a small saucepan over low heat, combine the caramels and 2 tablespoons of milk. Heat in 30-second intervals, stirring in between, until smooth and completely melted.
- Pour the Caramel: Working quickly, pour the melted caramel over the chilled cracker crust. Spread it into an even layer with a spatula.
- Add the Topping: Immediately sprinkle the 1.5 cups of crushed Butterfinger candy bars over the warm caramel layer. Gently press them down so they adhere.
- Melt the Chocolate: In a separate microwave-safe bowl, melt the 1 cup of chocolate chips in 30-second intervals, stirring until smooth.
- Drizzle and Chill: Drizzle the melted chocolate over the Butterfinger layer.
- Final Chill: Refrigerate the pan for at least 2 hours, or until the caramel and chocolate are completely firm. This patience is key, just like when you’re waiting for a delicious meal of crockpot chicken and gravy to finish cooking.
- Cut and Serve: Once firm, use the parchment paper handles to lift the entire block out of the pan. Place it on a cutting board and use a sharp knife to cut into squares.
Pro-Tips for Flawless Layers
- Don’t Overheat Caramel: The biggest mistake is melting caramel on high heat. This makes it tough and difficult to chew. Go low and slow, stirring constantly for a silky, smooth result.
- Work Quickly with Caramel: Once melted, caramel begins to set up fast. Have your crust chilled and your Butterfingers crushed and ready to go before you even start melting.
- The Hot Knife Trick: For perfectly clean cuts, run a large, sharp knife under hot water for a few seconds. Wipe it completely dry, then make your first cut. Repeat for each subsequent cut. The warm blade glides through the layers without smearing.
- Press Firmly: A tightly packed crust is essential to prevent the bars from crumbling. Don’t be shy—really press those crumbs down into the pan.
COMMON MISTAKES TO AVOID
- Mistake: Rushing the chill time.
Fix: Be patient. Each layer, especially the final assembly, needs adequate time in the refrigerator to set. Chilling for at least 2 hours ensures the bars hold their shape and you get clean, defined layers when cutting. - Mistake: Using hard, brittle caramels.
Fix: Stick to soft, chewy caramel squares (like Kraft). They are formulated to melt smoothly and stay soft after cooling, which is essential for the texture of these bars. - Mistake: Guessing on measurements.
Fix: Baking is a science. The ratio of butter to cracker crumbs is what creates a stable crust. Use the exact amounts called for to guarantee your base holds together perfectly.
FAQ
Q: Can I make these bars gluten-free?
A: Yes. Substitute the peanut butter sandwich crackers with a gluten-free alternative, like GF vanilla wafers mixed with peanut butter, or a dedicated GF sandwich cookie. Ensure your other ingredients are certified gluten-free as well.
Q: How should I store these bars?
A: Store them in an airtight container in the refrigerator for up to one week. Layering them with parchment paper will prevent them from sticking together. They can also be frozen for up to 3 months.
Q: My caramel layer is too hard. What went wrong?
A: You likely overheated the caramel. Melting it too quickly or at too high a temperature causes the sugar to recrystallize and harden. Always melt low and slow with a bit of liquid (milk or cream) and remove it from the heat as soon as it’s smooth. For other great dessert ideas, this Cranberry Orange Breakfast Cake is a fantastic make-ahead option.
NUTRITIONAL SNAPSHOT
| Nutrient | Amount per Serving |
|---|---|
| Calories | 280 |
| Protein | 3g |
| Fat | 15g |
| Net Carbs | 32g |
| Fiber | 1g |
| Sugar | 25g |
5-Ingredient Butterfinger Caramel Bars (Quick & No-Bake)
These Butterfinger Caramel Bars deliver maximum crunch, chew, and chocolatey bliss with minimal effort. This no-bake recipe layers a salty-sweet cracker crust, a rich caramel center, and a crunchy candy topping for a truly addictive treat. After a comforting meal like our tender Crockpot French Dip, you need a dessert that's just as simple and satisfying.
Ingredients
- 20 peanut butter sandwich crackers
- 4 tablespoons unsalted butter (melted)
- 1 (11 oz) bag Kraft caramel squares (unwrapped)
- 2 tablespoons milk or heavy cream
- 1.5 cups Butterfinger candy bars (crushed)
- 1 cup semi-sweet chocolate chips
Instructions
- Line an 8x8 inch baking pan with parchment paper, leaving some overhang on the sides to act as "handles." This is critical for easy removal later. Lightly grease the paper.
- In a food processor, pulse the 20 peanut butter sandwich crackers until they form coarse crumbs. If you don't have a food processor, place them in a zip-top bag and crush them with a rolling pin.
- In a medium bowl, mix the cracker crumbs with the 4 tablespoons of melted butter until fully combined. The mixture should resemble wet sand.
- Firmly press the crumb mixture into the bottom of your prepared pan, creating an even layer. Use the bottom of a glass or measuring cup to pack it down tightly. Place the pan in the freezer to set for 10-15 minutes.
- While the crust chills, unwrap the caramels. In a microwave-safe bowl or a small saucepan over low heat, combine the caramels and 2 tablespoons of milk. Heat in 30-second intervals, stirring in between, until smooth and completely melted.
- Working quickly, pour the melted caramel over the chilled cracker crust. Spread it into an even layer with a spatula.
- Immediately sprinkle the 1.5 cups of crushed Butterfinger candy bars over the warm caramel layer. Gently press them down so they adhere.
- In a separate microwave-safe bowl, melt the 1 cup of chocolate chips in 30-second intervals, stirring until smooth.
- Drizzle the melted chocolate over the Butterfinger layer.
- Refrigerate the pan for at least 2 hours, or until the caramel and chocolate are completely firm. This patience is key, just like when you're waiting for a delicious meal of crockpot chicken and gravy to finish cooking.
- Once firm, use the parchment paper handles to lift the entire block out of the pan. Place it on a cutting board and use a sharp knife to cut into squares.