Crispy Dill Pickle Parmesan Chicken: Your New Weeknight Favorite
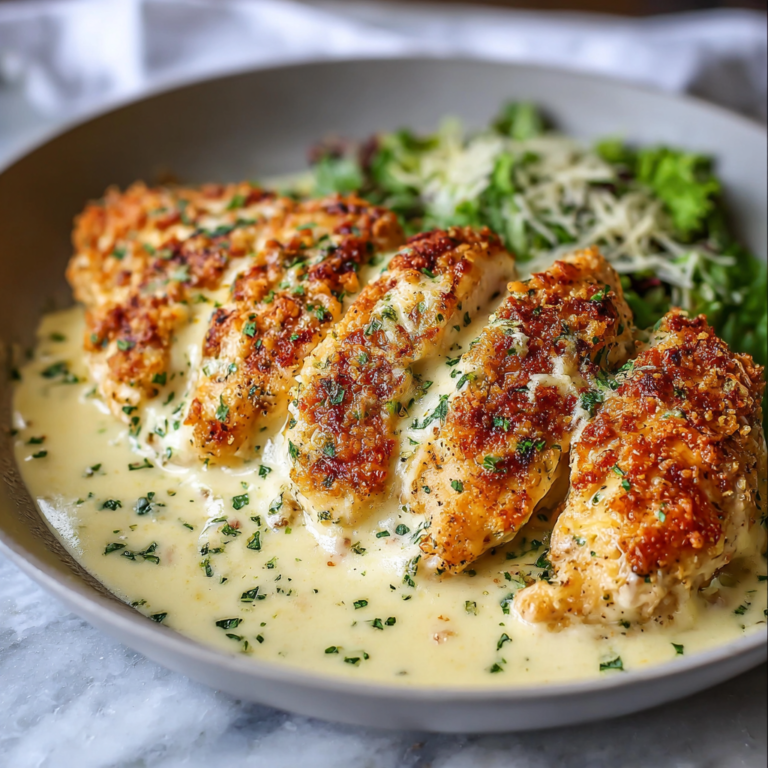
This Dill Pickle Parmesan Chicken delivers an incredible trifecta of flavor: a tangy, juicy interior, a savory cheese crust, and an addictively crispy exterior. It’s a simple, high-impact recipe that transforms basic chicken into something spectacular. If you’re a fan of fast weeknight dinners like our Weeknight Honey Garlic Salmon Bowls, this recipe will be a new staple in your rotation.
Why This Recipe Works: The Flavor Science
This recipe’s success comes from a simple, powerful combination of ingredients that work together to tenderize, flavor, and texturize the chicken.
- The Pickle Brine Marinade: The star of the show. Pickle juice is acidic, which acts as a brilliant tenderizer. It breaks down tough muscle fibers in the chicken, resulting in exceptionally juicy and flavorful meat.
- The Parmesan-Panko Crust: This duo is engineered for crispiness. Panko breadcrumbs are flakier and absorb less oil than traditional breadcrumbs, creating a lighter, crunchier coating. Parmesan cheese adds a deep, salty, umami flavor and browns beautifully, creating a golden, cheesy crust.
- The Seasoning Blend: Garlic powder and paprika add warmth and depth, balancing the bright tang of the dill pickle brine. It’s a simple blend that complements, rather than overpowers, the core flavors.
The Key to Maximum Crispiness
A soggy crust is the enemy. Follow these engineering principles for a guaranteed shatteringly crisp coating every single time.
- Dry the Surface: After brining, pat the chicken completely dry with paper towels. A dry surface is critical for the breading to adhere properly and for the crust to crisp up in the heat. Moisture is the #1 cause of a gummy coating.
- Use a Breading Station: Set up three shallow dishes: one for flour, one for beaten eggs, and one for the panko-parmesan mixture. This classic method ensures an even, durable coating that stays on during cooking.
- Don’t Crowd the Pan: Whether you’re baking or pan-frying, give each piece of chicken space. Overcrowding traps steam, which softens the crust. Cook in batches if necessary.
- Use a Wire Rack: If baking, place the breaded chicken on a wire rack set inside a baking sheet. This allows hot air to circulate around the entire piece of chicken, crisping the bottom and top simultaneously.
Step-by-Step Instructions
Prep Time: 15 mins (+ 30 mins brining)
Cook Time: 20-25 mins
Servings: 4
- Brine the Chicken: Place the pounded chicken breasts in a shallow dish or a zip-top bag. Pour the dill pickle juice over them, ensuring they are fully submerged. Marinate in the refrigerator for at least 30 minutes, or up to 4 hours. Do not exceed 4 hours, as the acid can begin to negatively affect the texture.
- Preheat & Prep: Preheat your oven to 400°F (200°C). Set a wire rack inside a large baking sheet.
- Set Up Breading Station: Prepare three shallow dishes.
- Dish 1: All-purpose flour.
- Dish 2: Beat the two eggs.
- Dish 3: Combine panko breadcrumbs, grated Parmesan, garlic powder, paprika, and black pepper. Mix well.
- Bread the Chicken: Remove chicken from the brine and pat completely dry with paper towels. Discard the remaining brine. Working one piece at a time, dredge the chicken in the flour, shaking off the excess. Next, dip it into the beaten egg, allowing any excess to drip off. Finally, press the chicken firmly into the panko-Parmesan mixture, ensuring an even, thick coating on all sides.
- Arrange for Baking: Place the breaded chicken pieces on the prepared wire rack, leaving space between them. Drizzle or lightly spray the tops with olive oil.
- Bake to Perfection: Bake for 20-25 minutes, or until the chicken is golden brown, crispy, and cooked through. The internal temperature should register 165°F (74°C) on an instant-read thermometer.
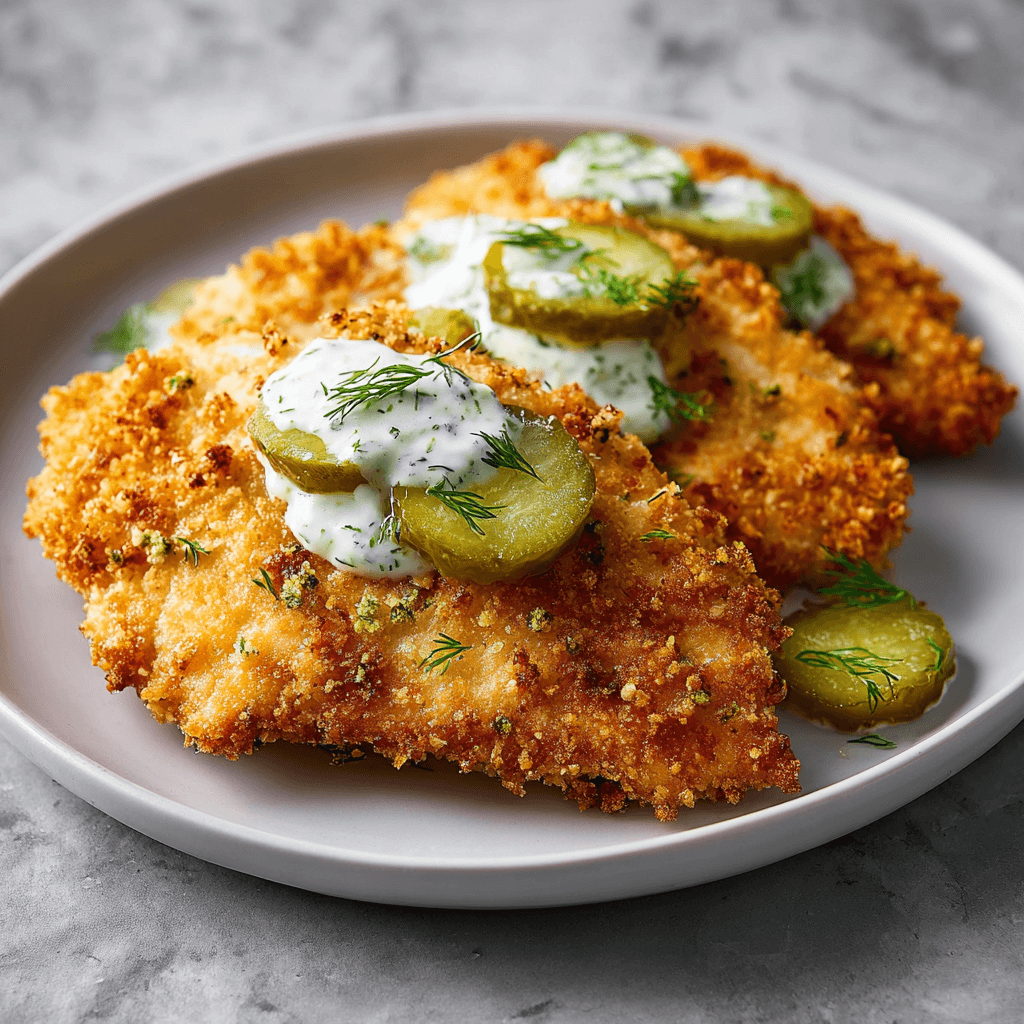
- Serve Immediately: Garnish with fresh chopped dill and extra pickle slices. Serve hot for the best crispy texture.
Serving & Pairing Perfection
This versatile chicken pairs well with a wide range of sides. Its bold flavor can stand up to hearty starches or be balanced by fresh greens.
- Classic Comfort: Serve with creamy mashed potatoes and steamed green beans.
- Lighter Fare: Pair with a simple arugula salad dressed with lemon vinaigrette or roasted asparagus.
- Sandwich Style: Slice the cooked chicken and serve it on a toasted brioche bun with lettuce, tomato, and a swipe of mayonnaise or ranch dressing.
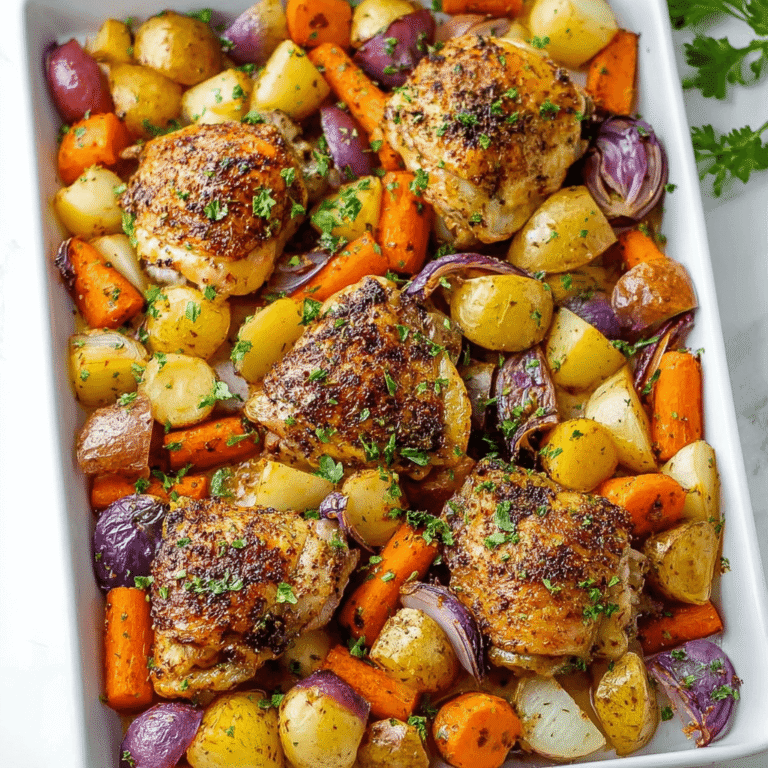
- Easy Meal Combos: For those who love easy, satisfying meals, this chicken fits right in. It has the same weeknight-friendly appeal as other simple sheet-pan meals and comes together with minimal fuss.
Variations & Customizations
Once you’ve mastered the base recipe, feel free to experiment.
- Add Some Heat: Use the brine from a jar of spicy dill pickles or add 1/4 teaspoon of cayenne pepper to your panko mixture.
- Herb Variations: Mix 1 tablespoon of finely chopped fresh parsley or chives into the breadcrumb coating.
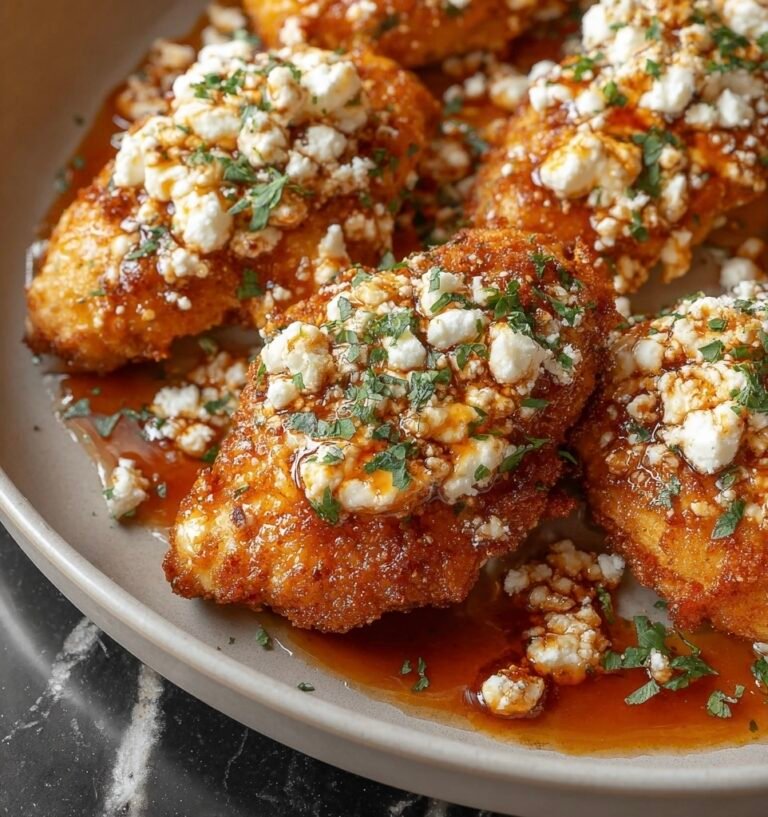
- Different Cheese: Swap the Parmesan for an equal amount of finely grated Pecorino Romano or Asiago for a different nutty flavor.
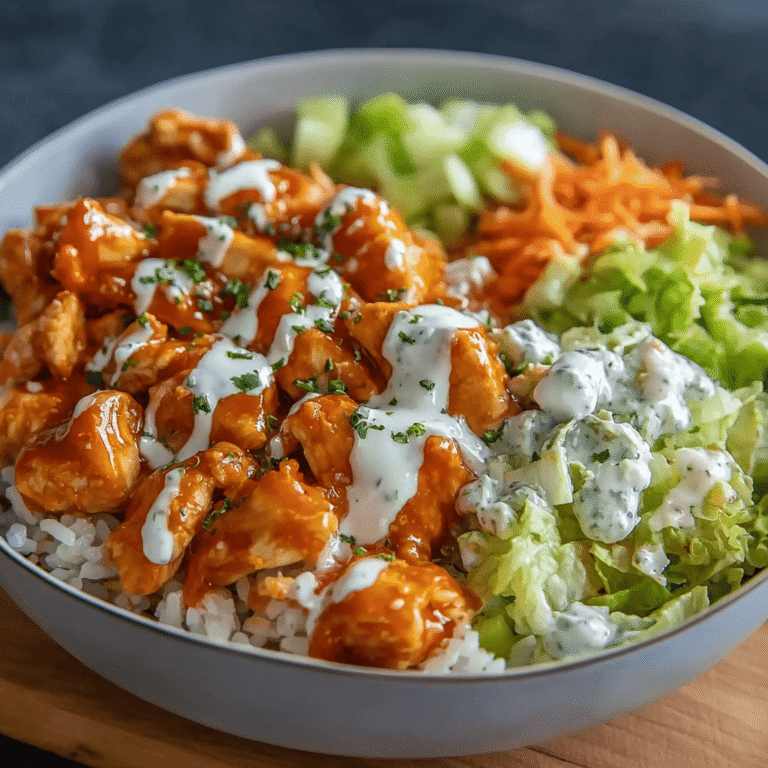
- Explore Other Flavors: If you enjoy experimenting with chicken, you might appreciate trying a completely different, zesty flavor profile for a refreshing change of pace.
For an impressive dessert to complete your meal, consider these delightful Vanilla Bean Cream Puffs, which offer a light and elegant finish.
COMMON MISTAKES TO AVOID
- Mistake: The breading is soggy and falling off.
Fix: Ensure you pat the chicken completely dry after brining. Moisture is the enemy of a crisp crust. Also, press the panko-Parmesan mixture firmly onto the chicken to create a solid coating. - Mistake: The chicken is tough and dry.
Fix: Don’t over-brine (4 hours max) and, more importantly, don’t overcook. Use a meat thermometer to pull the chicken from the oven the moment it reaches 165°F (74°C). - Mistake: The bottom of the chicken is soft.
Fix: Use a wire rack on your baking sheet. This elevates the chicken, allowing hot air to circulate underneath and crisp up the bottom crust. If you don’t have a rack, flipping the chicken halfway through baking can help.
FAQ
Q: Can I make this in an air fryer?
A: Absolutely. The air fryer is perfect for this. Preheat it to 380°F (190°C). Place the breaded chicken in the basket in a single layer (cook in batches if needed) and cook for 12-15 minutes, flipping halfway, until golden and cooked through.
Q: What’s the best kind of pickle juice to use?
A: Classic dill pickle juice is the standard and works perfectly. The brine from refrigerated deli-style pickles (like Claussen) often has a fresher, more garlicky flavor that is excellent here. Avoid bread-and-butter or sweet pickle juice.
Q: Can I prepare this ahead of time?
A: You can brine the chicken for up to 4 hours in advance. However, for maximum crispiness, it’s best to bread and cook the chicken just before serving. Leftovers can be reheated in an oven or air fryer at 375°F for 5-7 minutes to restore some of the crispness.
NUTRITIONAL SNAPSHOT
(Estimates are per serving, assuming 4 servings)
| Nutrient | Amount per Serving |
|---|---|
| Calories | 460 |
| Protein | 45g |
| Fat | 20g |
| Net Carbs | 22g |
| Fiber | 2g |
| Sugar | 2g |
Crispy Dill Pickle Parmesan Chicken: Your New Weeknight Favorite
Ingredients
- 4 (6-ounce) boneless, skinless chicken breasts, pounded to 1/2-inch thickness
- 1 cup dill pickle juice
- 1/2 cup all-purpose flour
- 2 large eggs, beaten
- 1 cup panko breadcrumbs
- 1/2 cup grated Parmesan cheese
- 1 tsp garlic powder
- 1 tsp paprika
- 1/2 tsp black pepper
- 2 tbsp olive oil
- 2 tbsp fresh dill, chopped for garnish
- Dill pickle slices, for serving