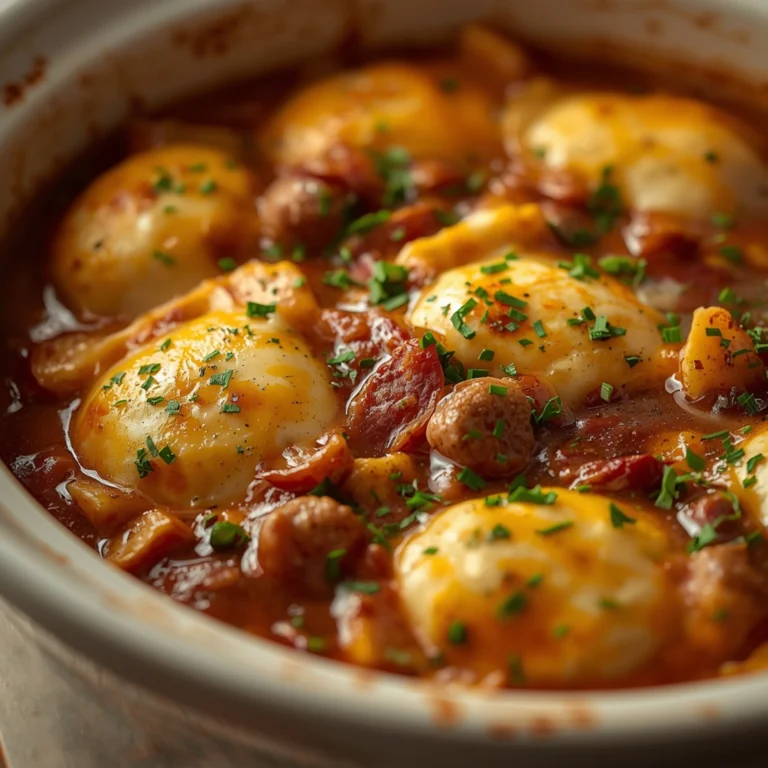
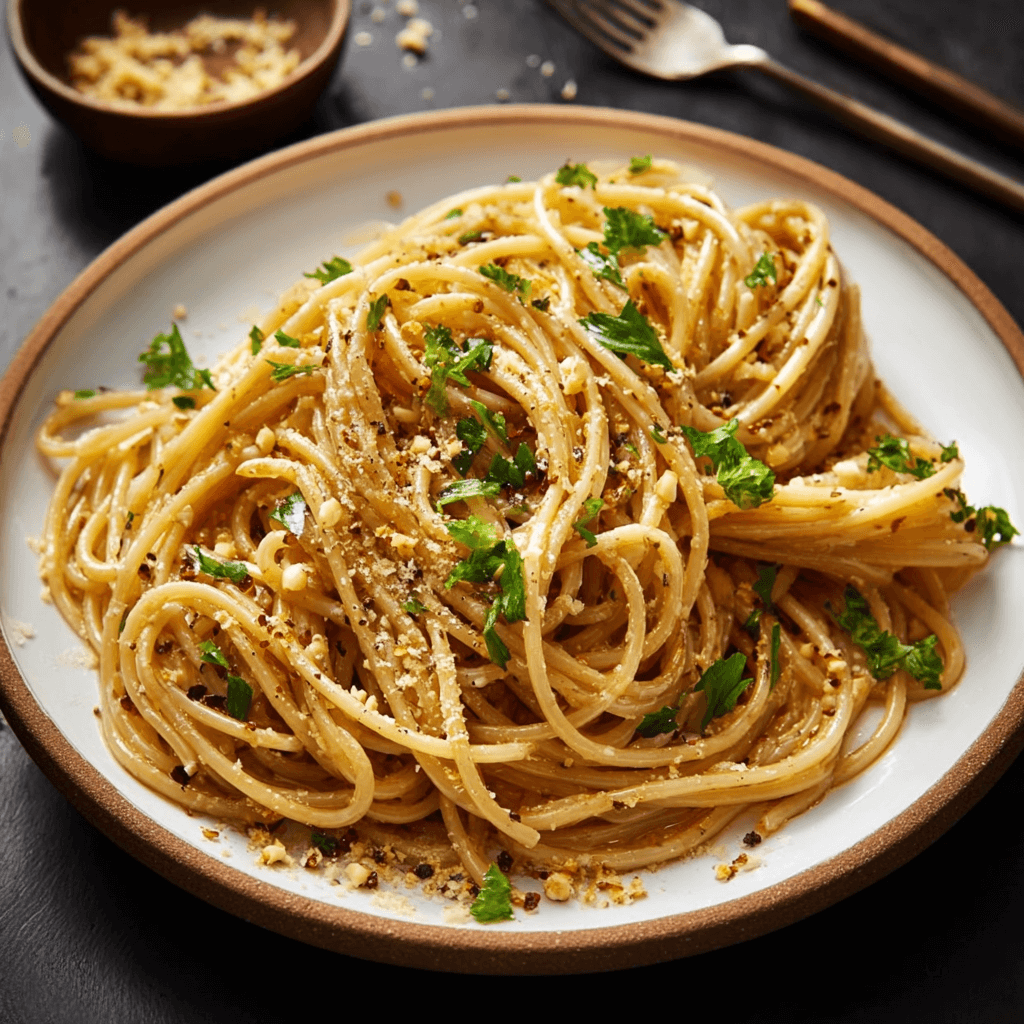
Rich Brown Butter and Miso Pasta in 20 Minutes
This brown butter and miso pasta is your new weeknight champion. It delivers an incredible depth of nutty, savory, umami flavor with just a handful of pantry staples. While I adore using my slow cooker for hands-off meals like making a batch of slow cooker ground beef for fast weeknight dinners, this stovetop recipe is the answer when you need maximum flavor in minimum time.
Why This Recipe Works: The Flavor Engineering
This dish punches far above its weight because of a simple, powerful synergy between three key components.
- Brown Butter (Beurre Noisette): Heating butter past its melting point toasts the milk solids, creating a deep, nutty, and complex aroma. This is the foundational flavor layer.
- Miso Paste: This fermented soybean paste is an umami powerhouse. It adds a salty, savory, and slightly funky depth that plain salt can’t replicate. It transforms the butter from a simple fat into a complex sauce base.
- Starchy Pasta Water: This is the non-negotiable “glue.” The starch leached from the pasta into the cooking water acts as a powerful emulsifier, helping the butter and miso cling to the noodles and creating a glossy, cohesive sauce instead of a greasy mess.
The Key Ingredients: A Closer Look
Success here is about quality, not quantity.
- Butter: Use unsalted butter. This gives you full control over the final saltiness, which is crucial since miso and Parmesan are already salty. European-style butter with a higher fat content will brown more richly.
- Miso: White miso (Shiro Miso) is your best bet. It’s milder and slightly sweet, complementing the butter perfectly. Yellow miso (Shinshu Miso) is a good second choice. Avoid dark red miso, which can be overpowering.
- Pasta: Long noodles are ideal for slurping up the sauce. Spaghetti, bucatini, linguine, or fettuccine are all excellent choices. A bronze-die cut pasta with a rougher texture will grip the sauce even better.
- Parmesan Cheese: Use a real block of Parmigiano-Reggiano and grate it yourself. Pre-shredded cheeses are often coated in anti-caking agents that prevent them from melting smoothly into the sauce.
Mastering the Brown Butter: Visual & Sensory Cues
Browning butter is simple, but it can go from perfect to burnt in seconds. Pay attention with your senses, not just the clock.
- The Melt: The butter will melt, then begin to foam. This is the water cooking off.
- The Sizzle: The foam will subside and the butter will begin to sizzle and pop. The milk solids are separating and falling to the bottom of the pan.
- The Aroma: You’ll smell a distinct change. It will go from smelling like melted butter to a rich, nutty, almost hazelnut-like aroma.
- The Color: Look for a beautiful amber or golden-brown color and small, dark brown specks (the toasted milk solids) at the bottom of the pan.
- The Action: As soon as you hit this stage, immediately take the pan off the heat to stop the cooking process.
STEP-BY-STEP INSTRUCTIONS
- Cook the Pasta: Bring a large pot of heavily salted water to a rolling boil. Add the pasta and cook according to package directions until al dente. Crucially, before draining, reserve at least 1.5 cups of the starchy pasta water.
- Brown the Butter: While the pasta cooks, place the unsalted butter in a large skillet or pan over medium heat. Let it melt completely, then continue cooking, swirling the pan occasionally. Watch for it to foam, then subside. Continue cooking until it smells nutty and you see golden-brown specks at the bottom (see guide above). This takes about 5-7 minutes.
- Create the Sauce Base: Immediately remove the pan from the heat. Whisk in the minced garlic and let it sizzle for 30 seconds until fragrant. Add the white miso paste and 1/2 cup of the reserved pasta water. Whisk vigorously until the miso is completely dissolved and the sauce is smooth.
- Combine: Use tongs to transfer the drained pasta directly into the skillet with the sauce. Add the grated Parmesan cheese.
- Emulsify: Place the skillet back over low heat. Toss the pasta continuously, adding more reserved pasta water a few tablespoons at a time, until the sauce thickens, becomes glossy, and clings beautifully to every strand of pasta. This should take 1-2 minutes.
- Finish & Serve: Remove from heat. Season with freshly cracked black pepper. Garnish with chopped parsley or scallions and an extra sprinkle of Parmesan. Serve immediately.
Creative Variations & Add-Ins
This recipe is a fantastic canvas for additions. Use what you have on hand.
- Add Protein:
- Crispy Prosciutto: Pan-fry thin slices of prosciutto until crisp, crumble, and sprinkle over the top.
- Seared Scallops: Pat scallops dry, season with salt and pepper, and sear in a hot pan for 90 seconds per side.
- Garlic Shrimp: For a quick seafood boost, pan-sear some shrimp with garlic and chili flakes; the flavor profile in this garlic chili shrimp noodles recipe can provide great inspiration.
- Add Vegetables:
- Sautéed Mushrooms: Sauté sliced cremini or shiitake mushrooms until golden and add them to the sauce.
- Wilted Greens: Add a few handfuls of spinach or arugula to the pasta at the very end and toss until just wilted.
- Roasted Broccoli: Toss with roasted broccoli florets for texture and nutrition.
- Add Texture & Flavor:
- Toasted Breadcrumbs: A sprinkle of panko breadcrumbs toasted in olive oil adds a fantastic crunch.
- A Squeeze of Lemon: A little fresh lemon juice at the end can cut through the richness.
- A Kick of Heat: Add a pinch of red pepper flakes with the garlic for a spicy version.
- Make it an Appetizer Course: For a more formal meal, you can serve smaller portions of this pasta after a starter like these elegant beef tenderloin crostini with rich bearnaise sauce.
To complete a fantastic dinner, a simple dessert is often the best choice. Consider finishing your meal with a classic crème brûlée or, for chocolate lovers, this impressive chocolate hazelnut tart.
COMMON MISTAKES TO AVOID
- Mistake: Burning the butter. Going from nutty brown to acrid black happens in an instant.
- Fix: Watch the pan constantly. Rely on your nose and eyes. As soon as it smells nutty and turns amber, kill the heat. If it burns, you must start over.
- Mistake: The final dish is too salty.
- Fix: Use unsalted butter and salt your pasta water aggressively, but do not add extra salt to the sauce itself until you taste it at the very end. Miso and Parmesan carry a lot of sodium.
- Mistake: The sauce is greasy and won’t cling to the pasta.
- Fix: You forgot or didn’t use enough starchy pasta water. This liquid is the magic emulsifier. Always reserve more than you think you need. Vigorously tossing the pasta in the pan with the water and sauce helps create that creamy coating.
FAQ
Q: What kind of miso is best for this pasta?
A: White miso (Shiro) is ideal. It’s the mildest and sweetest variety, perfectly complementing the nutty butter without overwhelming it. Yellow (Shinshu) miso can also work, but avoid red (Aka) miso, as its assertive flavor can be too intense for this delicate sauce.
Q: Can I make this gluten-free?
A: Absolutely. Simply substitute your favorite gluten-free pasta. The technique remains the same. Be sure to reserve the GF pasta cooking water, as it’s still full of the starch needed to create the sauce.
Q: How do I store and reheat leftovers?
A: Store leftovers in an airtight container in the refrigerator for up to 3 days. To reheat, place the pasta in a skillet over low heat with a splash of water or milk. Gently stir until warmed through. This helps loosen the sauce and bring back its creamy consistency.
NUTRITIONAL SNAPSHOT
| Nutrient | Amount per Serving |
|---|---|
| Calories | 580 kcal |
| Protein | 18g |
| Fat | 28g |
| Net Carbs | 61g |
| Fiber | 4g |
| Sugar | 3g |
Rich Brown Butter and Miso Pasta in 20 Minutes
Ingredients
- 1 lb spaghetti or other long pasta
- 1 stick (1/2 cup) unsalted butter
- 4 cloves garlic (minced)
- 3 tablespoons white miso paste
- 1 cup freshly grated Parmesan cheese
- Freshly cracked black pepper
- Chopped fresh parsley or scallions for garnish