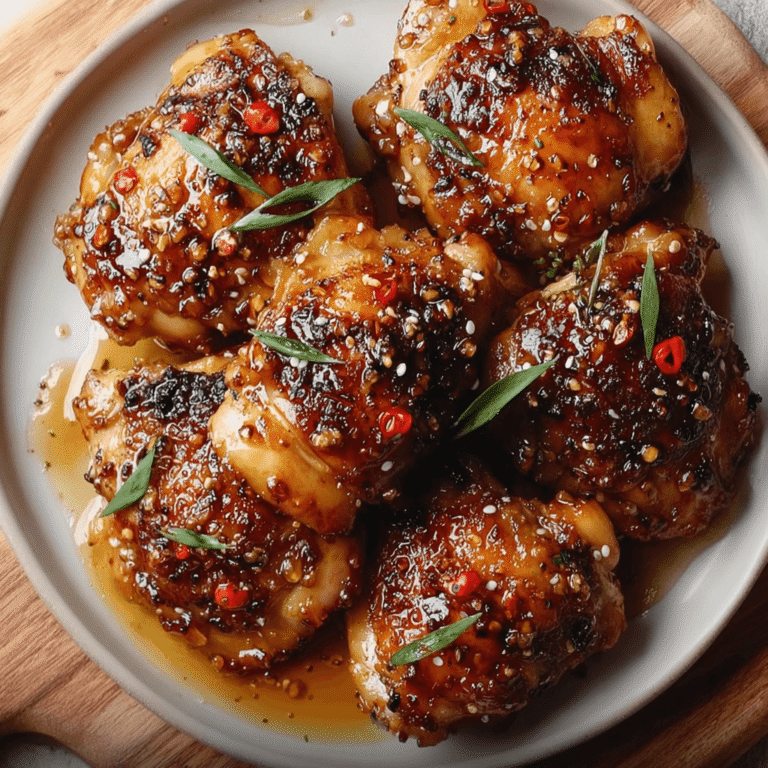
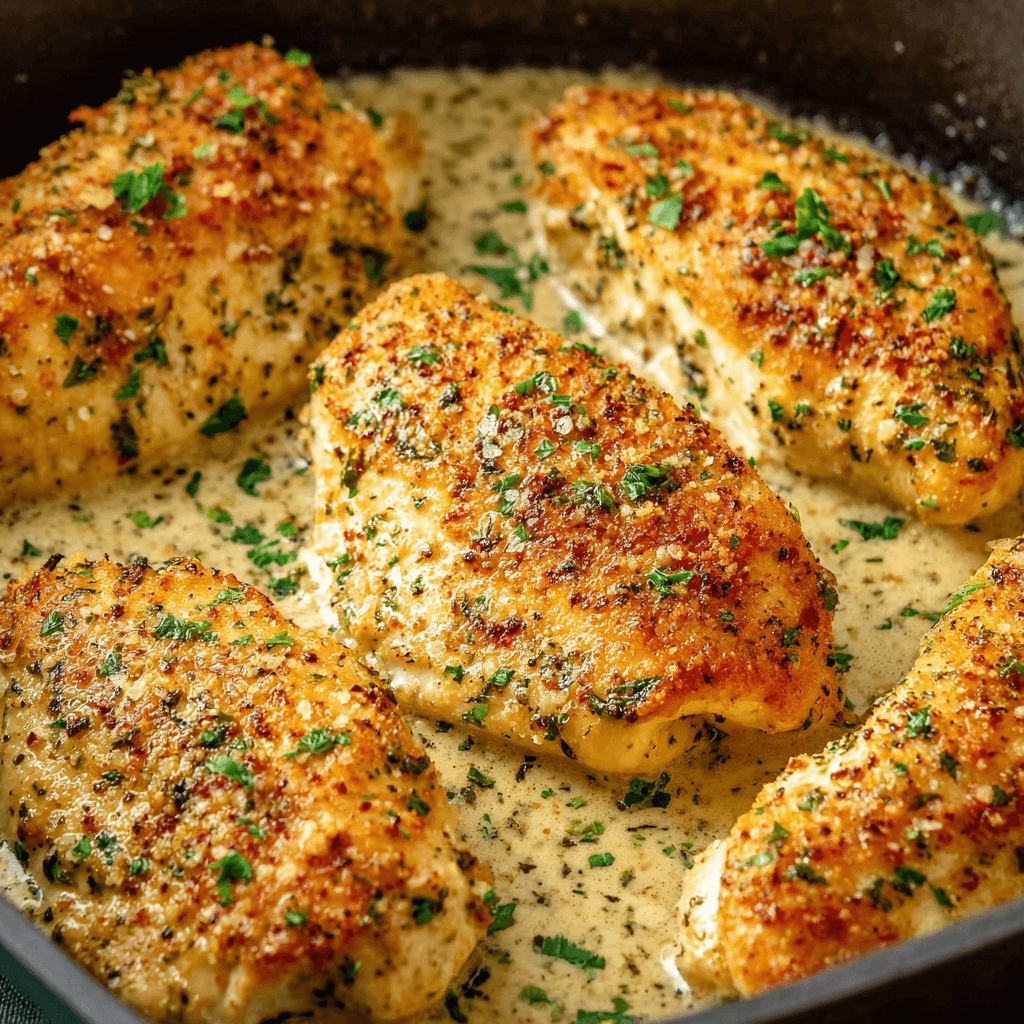
Perfectly Juicy Baked Ranch Chicken
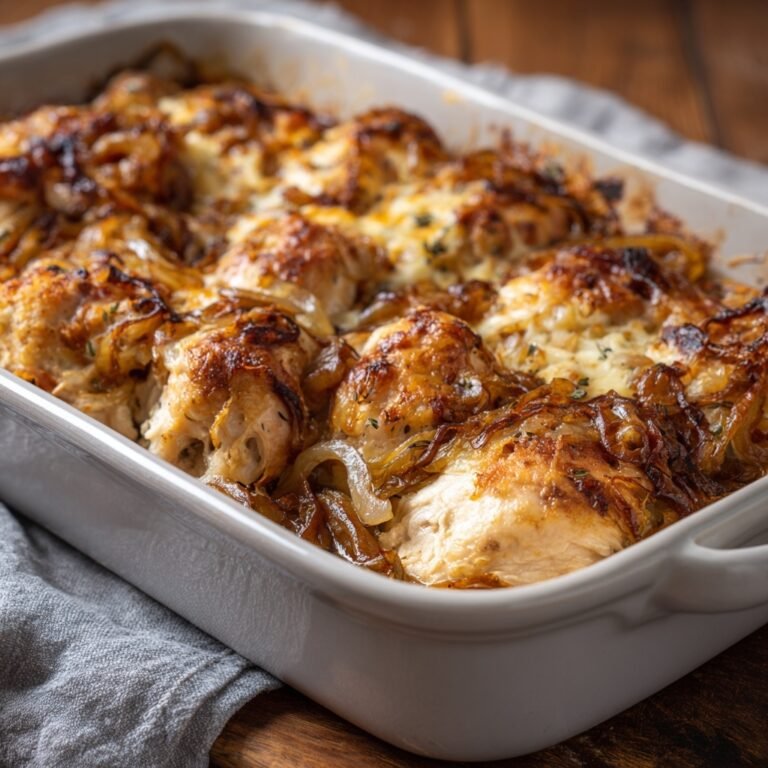
This Easy Baked Ranch Chicken is the answer for busy weeknights when you need maximum flavor with minimal effort. The creamy ranch coating locks in moisture, guaranteeing a tender, juicy result every time. For those who love a simple, satisfying bake, my easy French onion gnocchi bake is another must-try comfort meal.
The “Ranch Trinity”: Key Ingredient Breakdown
This recipe’s magic comes from three core components working in harmony. Understanding their roles lets you customize it perfectly.
The Protein: Chicken Breast
- Why it works: Boneless, skinless chicken breast is a lean canvas that absorbs the ranch flavor beautifully.
- Key action: Pound the chicken to an even thickness (about ½-inch). This is non-negotiable for even cooking and preventing dry spots.
The Flavor Engine: Ranch Seasoning
- Why it works: A dry ranch packet is a powerhouse of buttermilk powder, garlic, onion, and herbs (dill, parsley, chives). It provides a complex, savory, and tangy flavor profile instantly.
- Key action: Use one standard (1 oz) packet for every 1.5 lbs of chicken for the perfect flavor ratio.
The Moisture Lock: Creamy Binder
- Why it works: A creamy base like mayonnaise, sour cream, or Greek yogurt acts as a glue for the topping and, more importantly, creates a barrier that keeps the chicken incredibly moist during baking.
- Key action: Mayonnaise (full-fat) provides the richest flavor and best browning due to its oil content. Greek yogurt offers a tangier, lower-fat alternative.
Coating Secrets for Maximum Crunch
A soggy coating is a common failure. Here’s how to guarantee a crisp, golden-brown crust.
- Start Dry: Pat your chicken breasts completely dry with paper towels before you add any seasoning or binder. Moisture is the enemy of crispiness.
- Choose Your Crunch:
- Panko Breadcrumbs: The gold standard. Their large, airy flakes create a super crunchy, light texture.
- Italian Breadcrumbs: Finer texture, but often pre-seasoned, adding another layer of herby flavor.
- Crushed Cornflakes/Crispy Rice Cereal: A fantastic gluten-free option that provides a uniquely rugged, satisfying crunch.
- Grated Parmesan Cheese: Mix this into any of the above coatings. It not only adds a salty, nutty flavor but also browns beautifully and creates a cheesy crust.
Step-by-Step Instructions
Prep Time: 10 minutes
Cook Time: 20-25 minutes
Yields: 4 servings
- Preheat & Prepare: Preheat your oven to 400°F (200°C). Lightly grease a 9×13 inch baking dish or line it with parchment paper for easy cleanup.
- Prep the Chicken: Pat 4 boneless, skinless chicken breasts completely dry. If they are thick, place them between two sheets of plastic wrap and pound them to an even ½-inch thickness. This ensures they cook evenly.
- Mix the Coating: In a small bowl, combine ½ cup mayonnaise (or sour cream/Greek yogurt), 1 (1 oz) packet of dry ranch seasoning, and ½ teaspoon of black pepper. Stir until completely smooth.
- Coat the Chicken: Use a spatula or the back of a spoon to spread the ranch mixture evenly over all sides of each chicken breast. Place the coated chicken into your prepared baking dish.
- Add the Topping: In a separate small bowl, mix together ½ cup of Panko breadcrumbs and ¼ cup of grated Parmesan cheese. Sprinkle this mixture evenly over the top of each chicken breast.
- Bake to Perfection: Bake for 20-25 minutes, or until the chicken is cooked through and the internal temperature reaches 165°F (74°C) on a meat thermometer. The topping should be golden brown and crispy.
- Rest: Let the chicken rest in the baking dish for 5 minutes before serving. This allows the juices to redistribute, ensuring a tender bite.
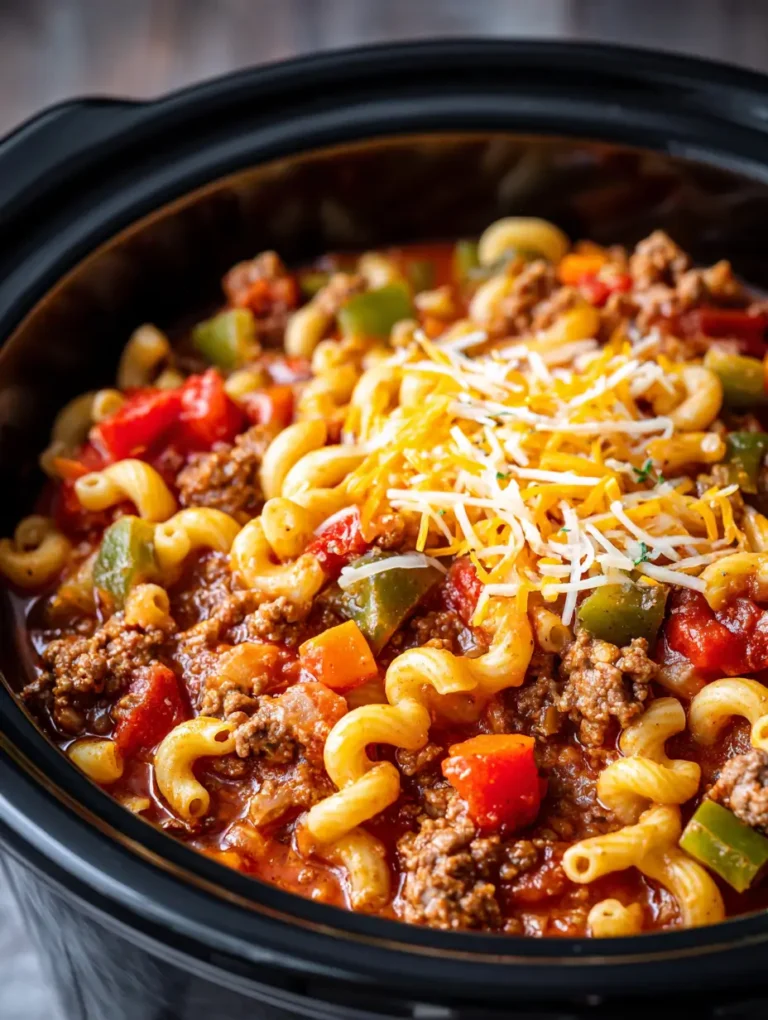
Crockpot Adaptation
While this recipe is designed for the oven’s high heat to create a crust, you can adapt the core flavors for your slow cooker.
- Objective: Create a creamy, shredded ranch chicken.
- Method:
- Place chicken breasts in the crockpot.
- Mix the ranch packet and pepper with ½ cup of chicken broth (instead of mayo) and pour over the chicken.
- Cook on LOW for 4-6 hours or HIGH for 2-3 hours.
- Shred the chicken directly in the crockpot.
- Stir in ½ cup of sour cream or Greek yogurt for creaminess after cooking is complete. Serve on buns or over rice.
Serving & Pairing Blueprint
This versatile chicken pairs well with almost anything.
- Classic Comfort: Mashed potatoes and steamed green beans or roasted broccoli.
- Lighter Fare: A crisp garden salad or a bed of quinoa.
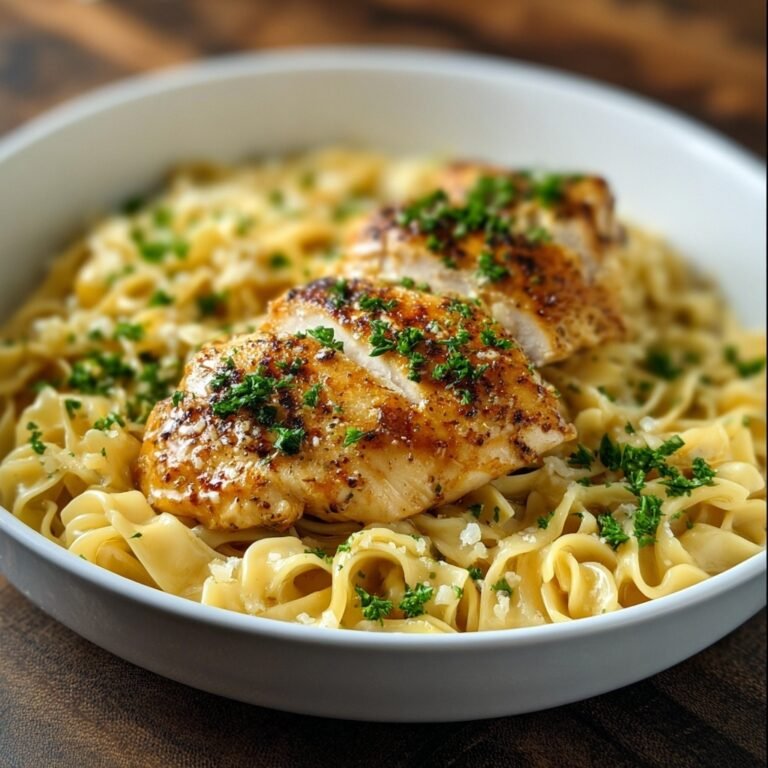
- Pasta Night: Slice the chicken and serve it over a simple pasta. The flavors are a great match for a creamy sauce, similar to the one in my tender chicken ricotta meatballs with spinach alfredo.
- Low-Carb: Pair with roasted asparagus, zucchini noodles, or cauliflower rice.
After a savory and satisfying meal like this, you might be looking for a different flavor profile for your next cooking project. For an exciting beef dish, consider trying these Korean Bulgogi Beef Bowls, which offer a fantastic sweet and savory contrast.
COMMON MISTAKES TO AVOID
- Mistake: Dry, tough chicken.
- Fix: Use an instant-read meat thermometer. Pull the chicken from the oven the moment it hits 165°F in the thickest part. Also, pounding the chicken to an even thickness prevents the thinner parts from overcooking while you wait for the thicker part to finish.
- Mistake: A soggy, pale crust.
- Fix: Ensure your oven is fully preheated to 400°F. High heat is essential for browning. Also, patting the chicken completely dry before coating is a critical first step. Panko breadcrumbs will give you the best crunch.
- Mistake: The coating slides off.
- Fix: The creamy binder (mayo/sour cream) is your friend here. Make sure the chicken is well-coated in a thin, even layer before adding the breadcrumb topping. This gives the topping something substantial to adhere to.
FAQ
Q: Can I use chicken thighs instead of breasts?
A: Absolutely. Boneless, skinless chicken thighs work great and are naturally juicier. They may need an extra 5-10 minutes of baking time, so rely on a meat thermometer and cook to an internal temperature of 175°F (80°C).
Q: Can I prepare this dish ahead of time?
A: You can assemble it up to 4 hours ahead. Prepare the chicken completely in the baking dish, cover, and refrigerate. Add a few extra minutes to the baking time since you’ll be starting with a cold dish. Avoid prepping it more than a few hours in advance, as the coating can become watery.
Q: Is it better to use a ranch packet or bottled ranch dressing?
A: Use the dry seasoning packet. Bottled ranch dressing contains more liquid and oils that can make the final dish greasy and prevent the coating from getting crispy. The concentrated flavor of the dry mix is exactly what you need.
NUTRITIONAL SNAPSHOT
| Nutrient | Amount per Serving |
|---|---|
| Calories | 415 |
| Protein | 42g |
| Fat | 24g |
| Net Carbs | 6g |
| Fiber | 1g |
| Sugar | 2g |
(Nutritional values are estimates based on using mayonnaise and Panko breadcrumbs. Actuals may vary.)
For a truly decadent dessert to follow this simple dinner, these clever mini chocolate cheesecake tacos are a fun and impressive treat.